A number of months ago I promised to spend more time on explaining process of making a new piece. Well, admittedly I had a lot going on, but it took months to finish this caftan! The linen Moulin Rouge fabric from Marcy Tilton was the initial inspiration and it just got crazy from there. How difficult can it be to make a caftan? Who needs a pattern? Or so I thought when beginning this piece that turned out quite complex.
 The other linen pieces come from my stash and were made into a rectangle of pieced fabric that I then draped on Roxanne. Cool, this is going to be easy!
  The back panel also needed to have a mix of fabrics so I decided to make a diagonal slice on the patchwork piece to make a wedge for the back. This seemed like a great idea and here is the back panel on the floor. However, all the angles started getting confusing on such a large project.
  A shirt would have been much easier to manipulate, but I persevered adding more black linen until I had back and front rectangles to form the caftan. After sewing the shoulders it was time to look at the neck. It’s difficult to see, but I’m intrigued with this idea of a turned rectangle to form an asymmetrical neck. The shoulder seam is the black to black seam starting on the lower left hand side of the photo. The other shoulder continues diagonally across the rectangle to the upper the right hand side of the photo. Unfortunately, in the end the neck was too big, and I’m not a big fan of my bra straps showing. I played around with the neck later and came up with a solution, but I would love to perfect this idea in another project.
 So at this point the project looks cool on Roxanne so I try it on. It looks terrible on me!!! Too much fabric…we’re talking full size tent, and it’s heavy! Time to start chopping!
  I decide that instead of a classic rectangular caftan that I will just cut into the sides forming sleeves as you can see in this photo of the back.
 This reduced the bulk by about half so I decided to focus on a pocket. I’m very fond of how the pocket came out. However at that point the caftan still fit poorly. The photo below is after all the tweaking, and you can see I lost a little of the pocket opening when I took more out of the sides.
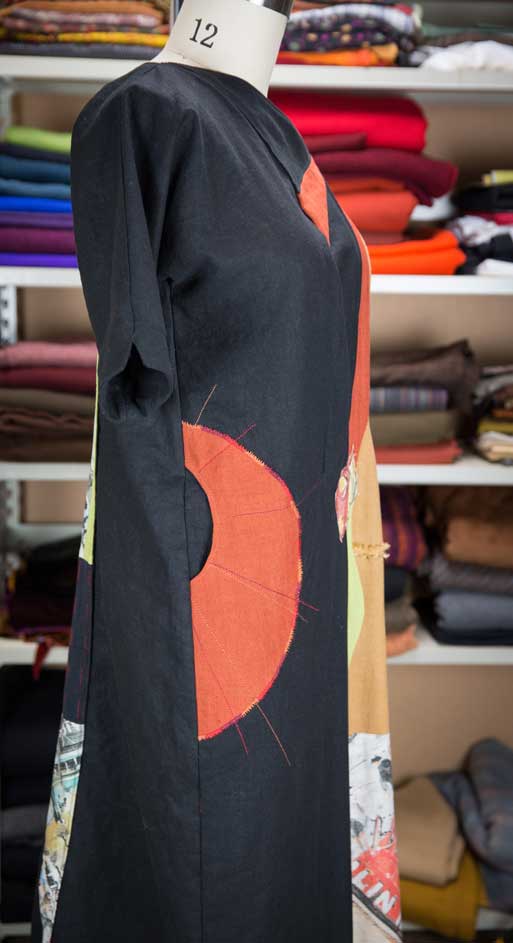
Finally, I start gathering up the front to give the garment some definition at my waist. It’s starting to look much better, so I take it over to my BSF to help me perfect the final folds while wearing the piece. I found a nice little fabric bit in my stash painted by Miles Frode and used it to integrate the intersections of the folds.  You can also see how I resolved the neck. Hopefully it looks intentional…The outfit is fun, I will wear it and most of all I enjoyed the process and learned a lot!
I hope to finish my summer coat this week now that the temperatures are in the 80’s to 90’s and I don’t need it! Early fall will also be perfect for a light wool coat, so no harm done. I’m starting to catch up with my UFO projects and hope to start something completely new next week.
 I’m back to sewing and blogging! Summer always poses wardrobe difficulties since fall is my favorite season in both colors and weight of fabrics. I’m determined to have a summer wardrobe one of these years, but while I started planning summer sewing in February, life got in the way. I have a spring coat that I’m still working on, but it’s a long slow project that I’m savoring so it’ll get done sometime soon. Hint: machine embroidery is involved.
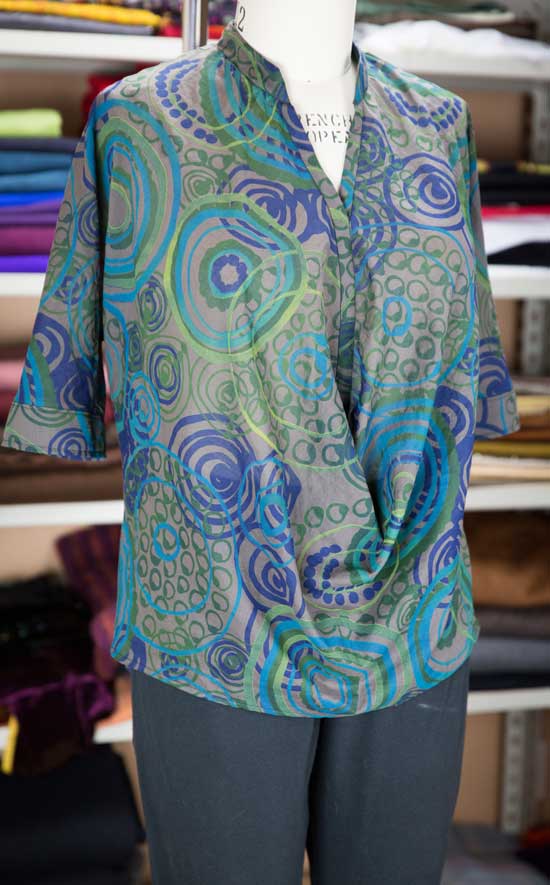
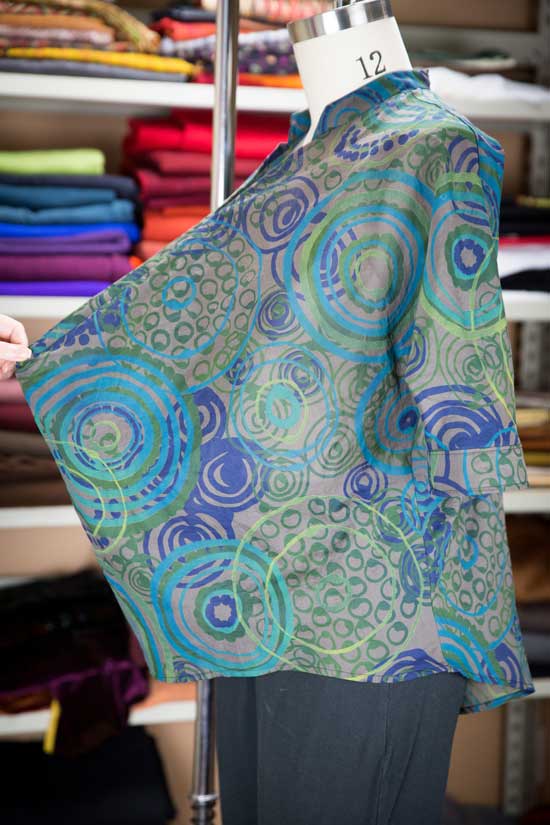 Isn’t this an interesting idea? The front basically ends up on the bias at the placket. Drafting this pattern was difficult, since the original shirt kept shifting around. This front idea is what I wanted to capture and beyond that, I made quite a few detail changes from the original.
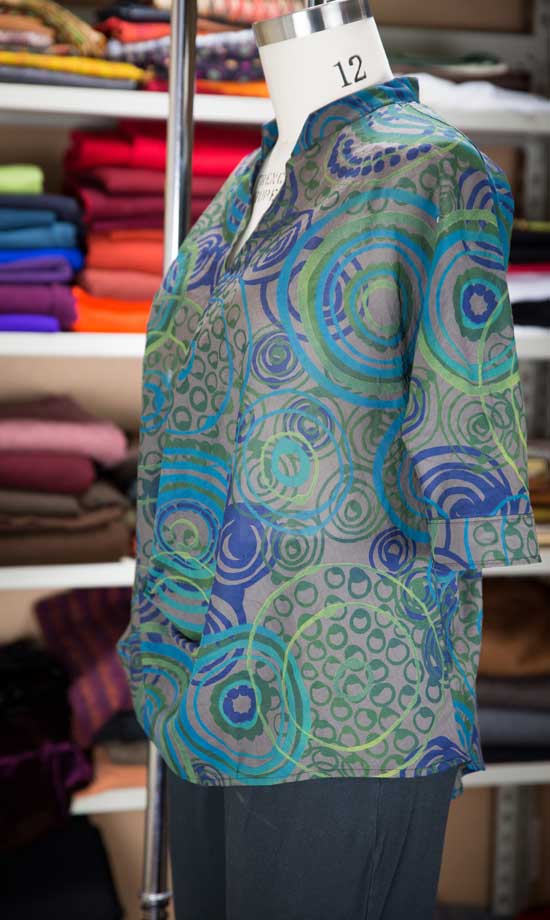 I may add some false buttons on the placket. I usually sew plackets up even on RTW that I’ve purchased. I’m just more comfortable knowing I don’t have to watch out for gaposis at the bust!The back pleat adds to the airiness of this top, which you barely feel while wearing. I find it slightly disconcerting and as I said before a little more weight to the fabric will feel better. I am wearing this “muslin” but I think there is great potential in the future. The body pattern is only two pieces so there is room for fabric play. Hope I have time this summer to make another!
 The back pleat adds to the airiness of this top, which you barely feel while wearing. I find it slightly disconcerting and as I said before a little more weight to the fabric will feel and look better. I’m wearing this “muslin” but there is great potential future iterations. The body pattern is only two pieces so there is room for fabric play. Hope I have time this summer to make another!