The One with the Built-in Scarf


scarf-topI’ve been sewing but in such small periods of time that I never had time to photograph and blog. It’s amazing how much can be accomplished with an hour or two here and there, but I find it very inefficient. Each time I have to review what last happened with the project before proceeding to the next step. The holidays are coming up and I need to switch gears to gift giving projects, but for now I’ll try and catch up on what has been on my sewing machine for the last month, and it’s going to take a few photo sessions and blogs to cover it!scarf-top_2

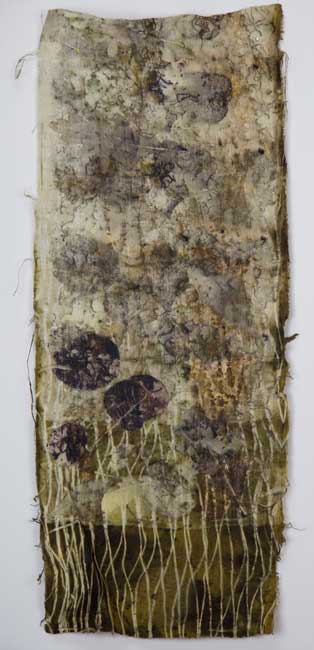
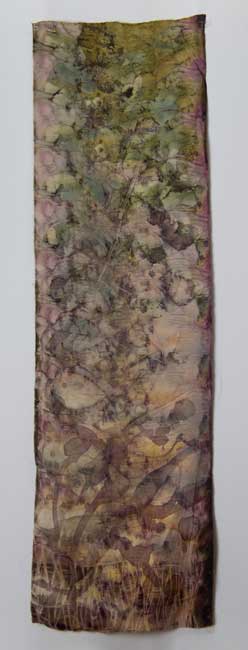
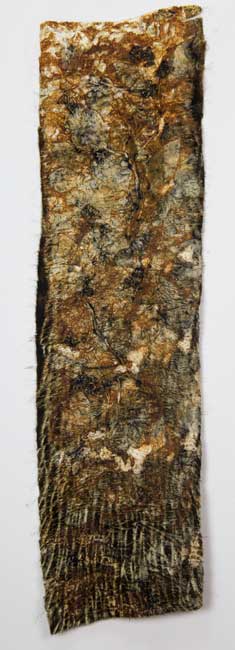
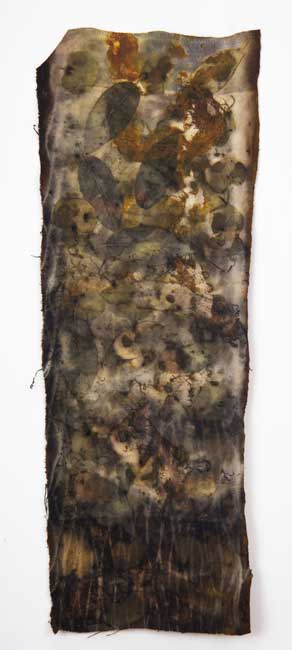
I fell for view B from V1516 by Tom and Linda Platt. I call it “the one with the built-in scarf”. With all of those edges there’s a lot of finishing, but I think it is very pretty and dressy, but still comfortable. I can’t remember where I bought the main fabric (money’s on MarcyTilton.com), but it’s probably a rayon crepe. It pre-washed beautifully, but I will be gentle with it now that it’s sewn up. The wool and silk floral layer is from a beautiful scarf I bought during the Taos retreat, with the intention of cutting it up for yardage.

scarf-top-detail

I’m pretty proud of the edge finishes. I buy bias ribbon from Dharmatrading.com and then throw it in the batch whenever I’m dyeing fabric. It comes in handy for anything from wrapping presents for special people to using it for edges like a Hong Kong seam or the hem finish.

scarf-top_4

I’m wearing pants that don’t quite match, but I have enough fabric left to make a pair of pants as soon as I decide which pattern to use. I’m thinking of going back to my pants sloper to make a classic trouser pattern. The Craftsy class covers the modifications, but I need to get the sloper out and follow that chapter. Sounds simple, but we’ll see when I get time to do that. The top and soft pants would make a lovely holiday outfit.

Heartfelt Vest

Heartfelt-Vest_16I bought this amazing fabric at Allyn’s Fabrics in Denver. This store has been there forever. To give you some idea, the current owners bought it almost 45 years ago. I’m pretty sure some of the fabric is old and priceless. You have to dig while praying that the bolts at the top touching the ceiling don’t come down on you. In some areas my BSF and I needed to use our cell phones as flashlights. The staff is very friendly and it is a must stop in Denver.

I bought two pattern repeats, and proceeded on the search for the perfect jacket/vest design to show off the green border. Finally, it dawned on me that this fabric speaks for itself. I need a versatile pattern with simple lines, allowing me to make decisions on the fly. Diane Ericson’s Heartfelt Coat to the rescue! This is the same pattern I used on my first ever blog post. That hand-pieced fabric had the same requirements of simplicity with options.

Heartfelt-Vest_4After making the basic shape I spent a day making sleeves and then taking them off and adding a simple band to finish the arm opening. Then I played around with a button/ large snap closure that was too heavy for the (mystery) textile. I removed the button and heavy snaps, and added lighter snaps.

Heartfelt-Vest_1Heartfelt-Vest_5Finally I explored collar options. This multi layered bias collar is also a Diane technique. I love having a good stash and the hand-dyed green organza was sitting on a shelf just waiting for the perfect project.

Heartfelt-Vest_2

The fabric isn’t stable enough for the pockets I hoped for, so I still have a few scraps of fabric and the unused button. I plan on making a little matching purse in the next few weeks. I also have a lovely green knit slated for a pair of pants to coordinate with the vest.

Happy Valentines Day to all!

Eco-Dyeing with Ayn Hanna

Eco-Dyeing_11This last October I took an eco-dyeing class with local Fort Collins artist Ayn Hanna. It was just a whim to try something new, and this process is very different from anything I’d tried before. Ayn is very organized and had class notes and worksheets all ready for us. She also had various leaves, natural dye baths and a couple of steamers heated up. The plant knowledge needed for this type of dying is more than I can describe in this blog, but there are several good books on the subject. I highly recommend taking a class from Ayn or someone in your area.

Eco-Dyeing_8

Preferably starting with wool or silk, start by soaking your natural fabric in water. Then wring the piece out, lay it flat and place an assortment of leaves on top. Using a dowel or copper pipe roll the fabric strip tight and bind with cord before placing the bundle in a steamer or dye bath. You can see the cord binding on the bottom edge of the dyed cloth where the dye bath is also the strongest. After soaking for several hours minimum, the bundles sat in my garage for about 3 weeks until I unwrapped them to see the magic.Eco-Dyeing_10

Why are some of the leaves black and some orange? Well that is where the knowledge and experience come in. Strangely enough, eucalyptus leaves dye the fabric orange, but I didn’t get consistent results on this first try.Eco-Dyeing_4

The piece above had some raspberry juice added, and I love the colors!

Eco-Dyeing_2This one is on rayon and silk velvet. It ended up a gorgeous texture and sheen.

One of the challenges for me with this type of dying is the washability of the textile. Setting the dyes is not as sure as when using fiber reactive dyes. I made about 20 pieces of varying success that weekend and plan on experimenting with setting the dye on some of the rejects first. Will I use this dye process in the future? Well I might take the class every year! The set up was extensive with 5 dye baths and two steamers for about 8 of us to share. If I did this at home I think I would need to choose just one or two dye baths…maybe onion peel and walnut. Steaming worked well, but more pastel and I like a deeper color palette.

Eco-Dyeing_3

Eco-Dyeing_9I’m sure that you will see some of these appear on future blogs, even if I only make purses out of them they would be beautiful! Thanks Ayn!