Diane Ericson’s Ashland Vest

Ashland-Vest_1It’s always a treat to make a pattern designed by Diane Ericson, and the new Ashland Vest is no exception. Her patterns are just more than a typical pattern. More creativity, more ways of sewing up the project, and more detailed options to use on this pattern or others. Each pattern is a lesson in sewing and finding one’s own voice, and not just copying Diane’s work. She encourages fearless creativity, and with those thoughts in mind my BSF and I opened up the pattern last week.

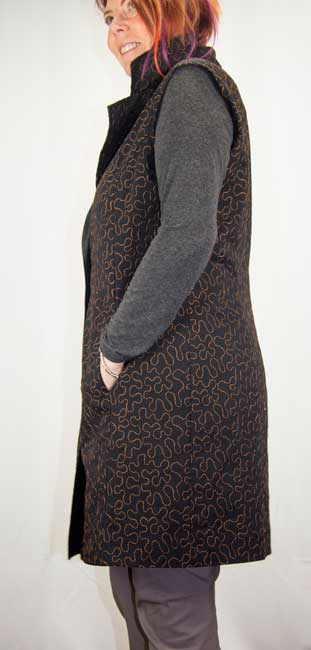
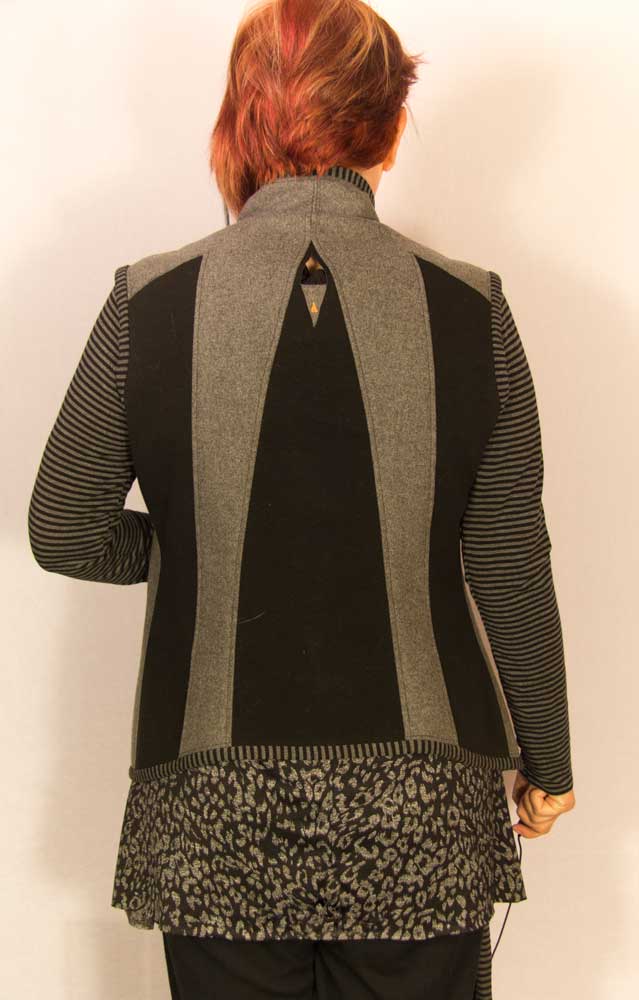
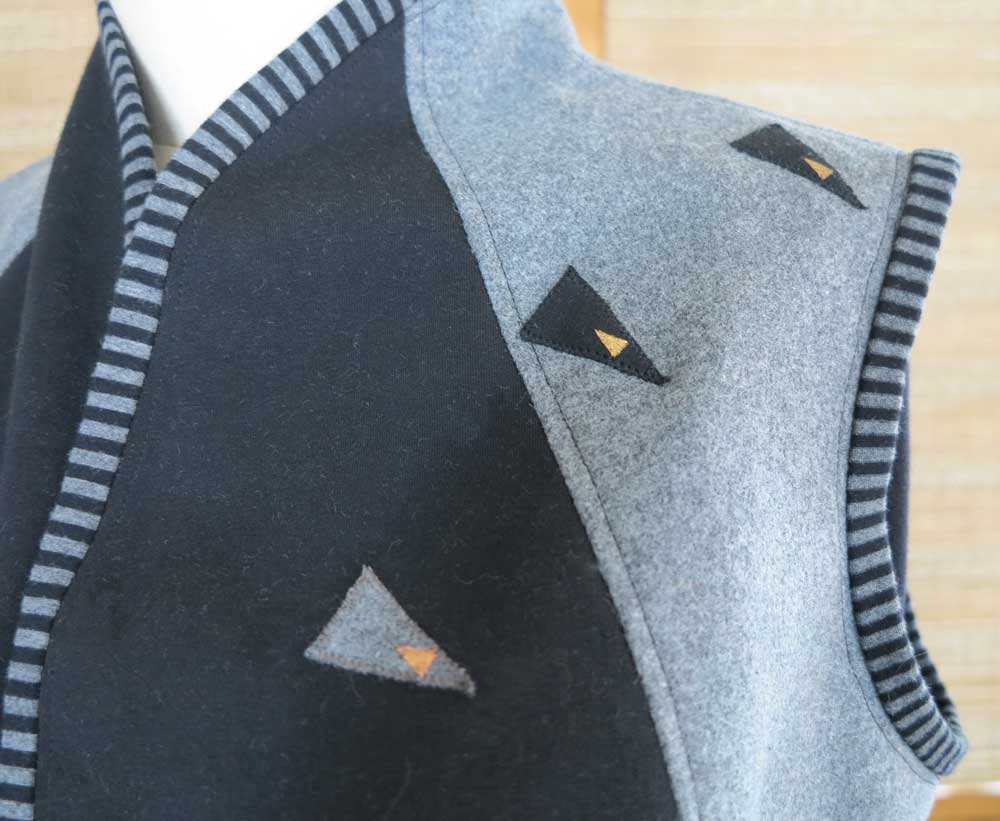
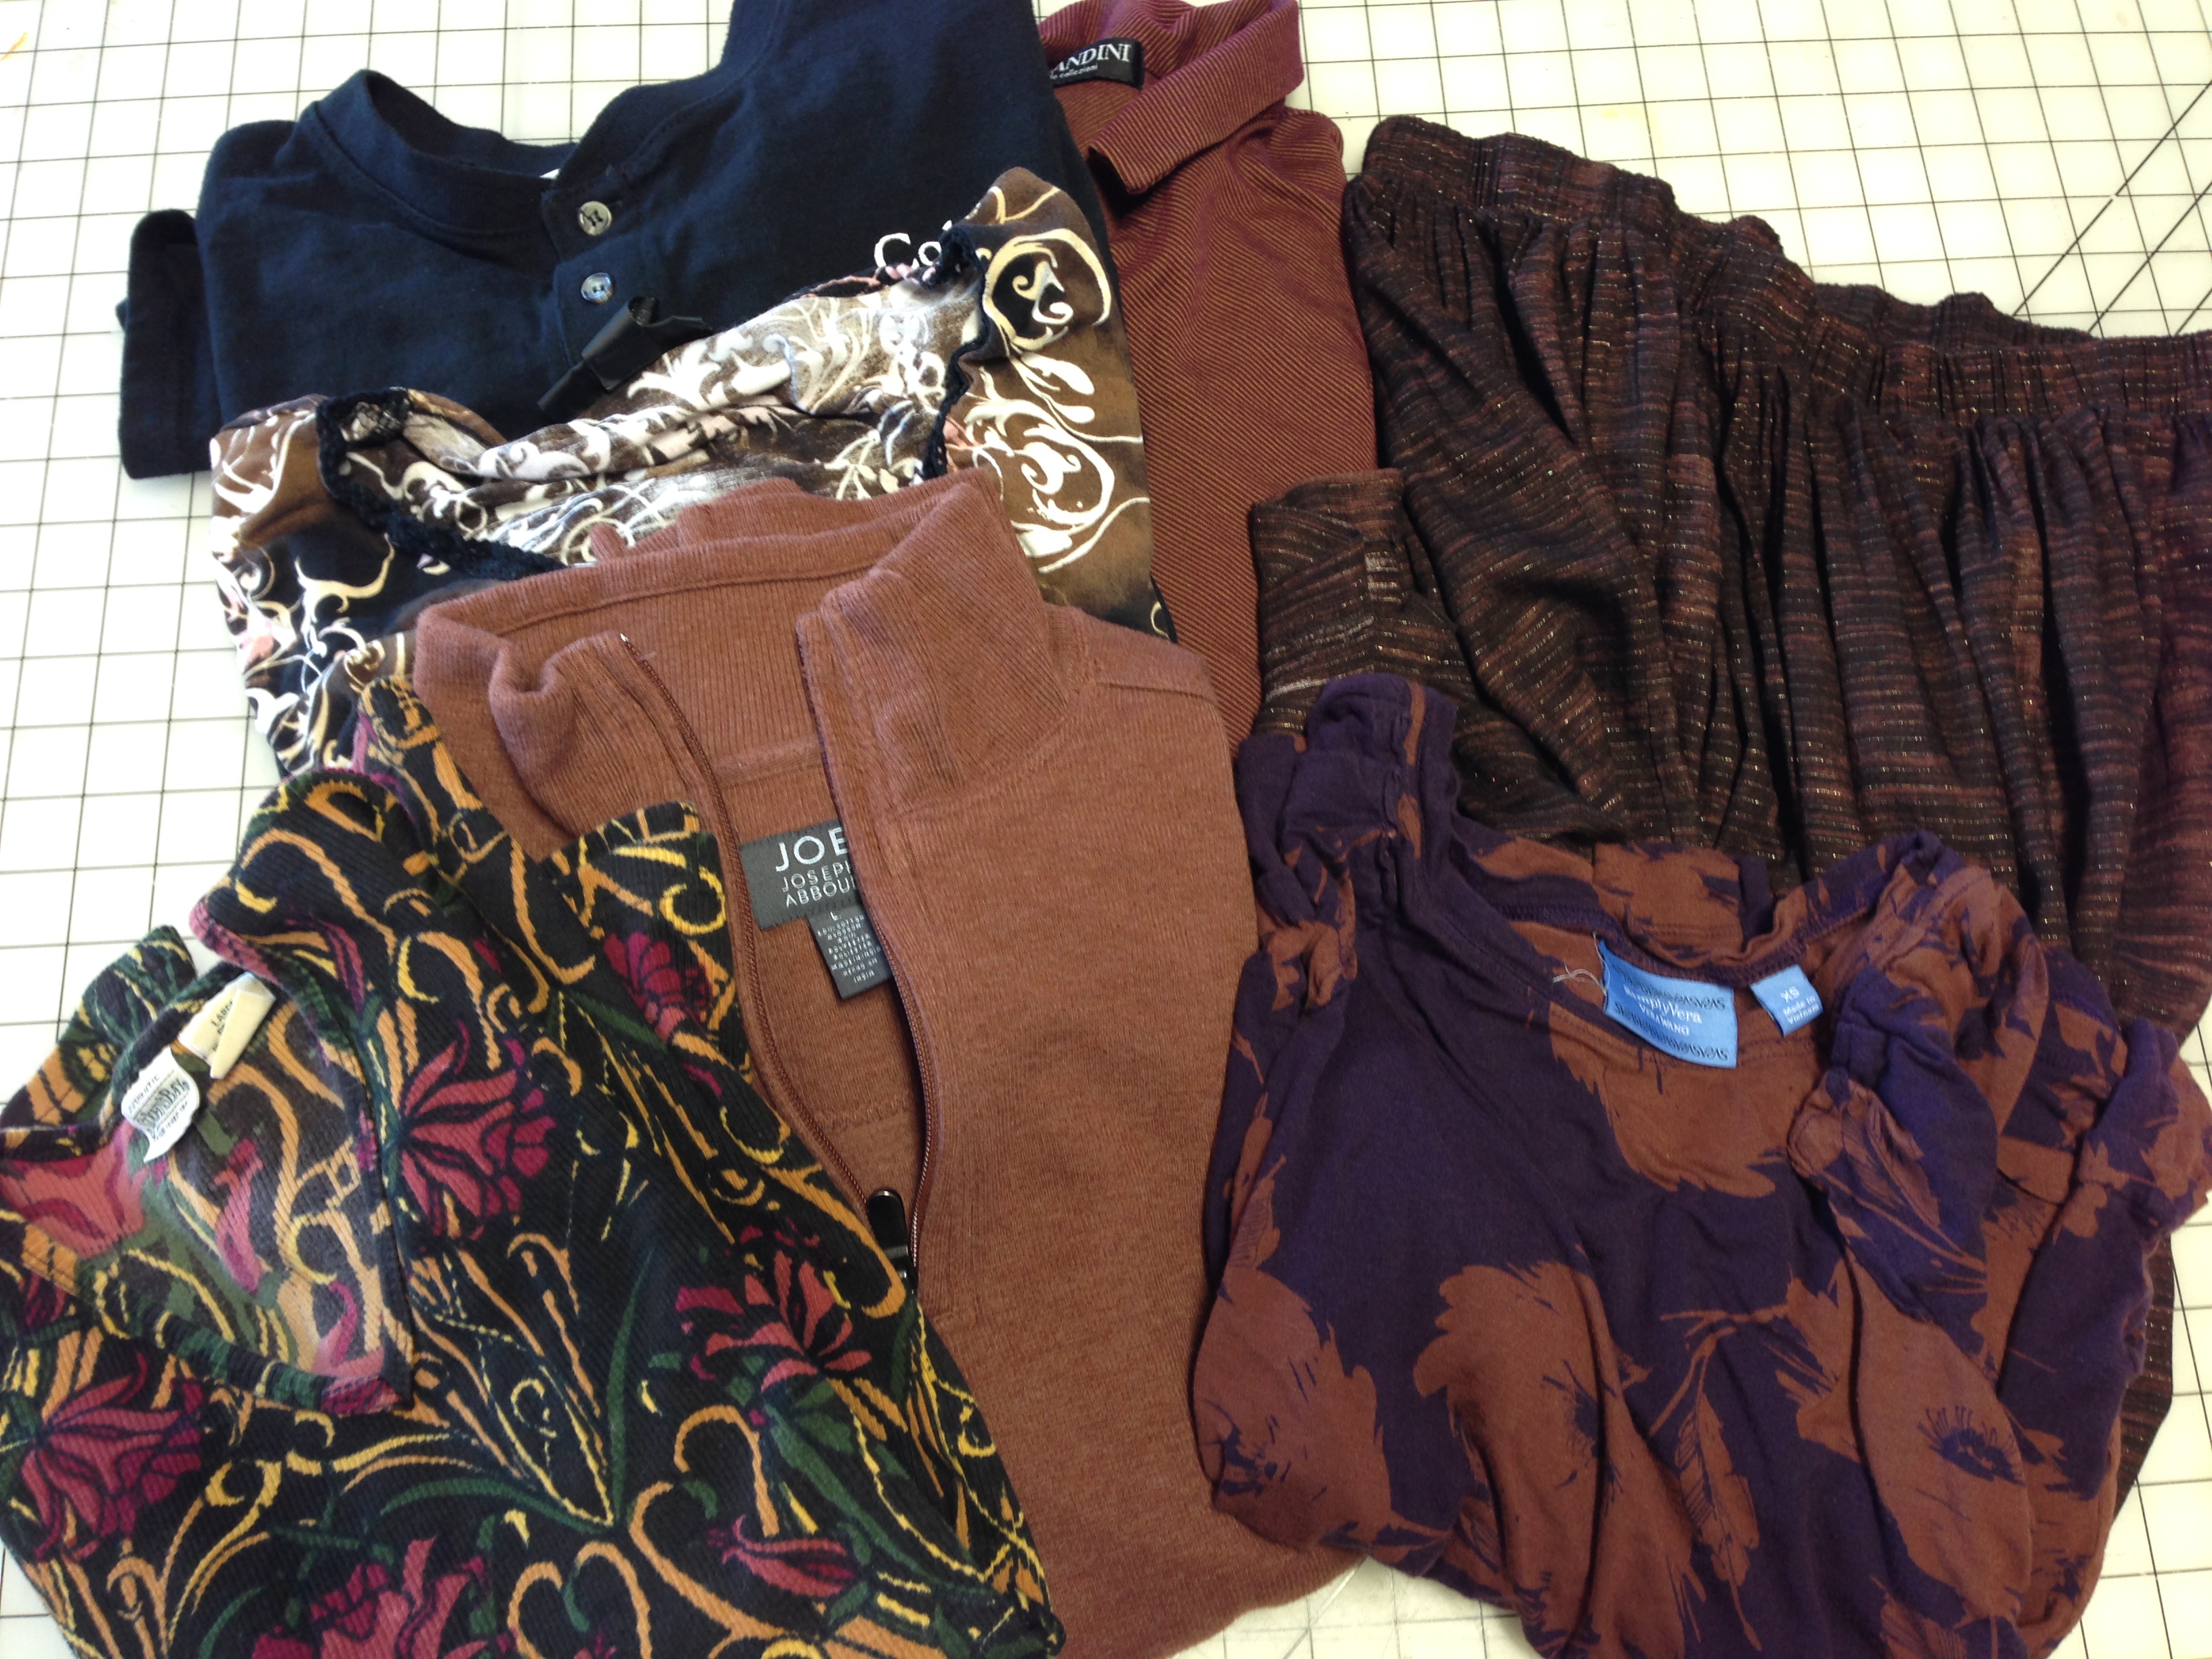
After taking a good look at the pattern and dimensions we decided to make a medium, and I think that was the right choice for us. Another might want a roomier feel and make a large. We also chose to use the front piece with a dart. Thanks to Diane for providing this option! I went to my stash and found two wonderful woven Japanese cottons and then a lovely brick-red striped linen for the lining. The Japanese cottons are different but beautiful on both sides, so that made 4 coordinating fabrics! In addition I turned them 90° to emphasize the differences.Ashland-Vest_4

BTW, the cottons are a dark brown and the linen has a black stripe. They look great together! There’s no need to get out a magnifying glass to match colors.

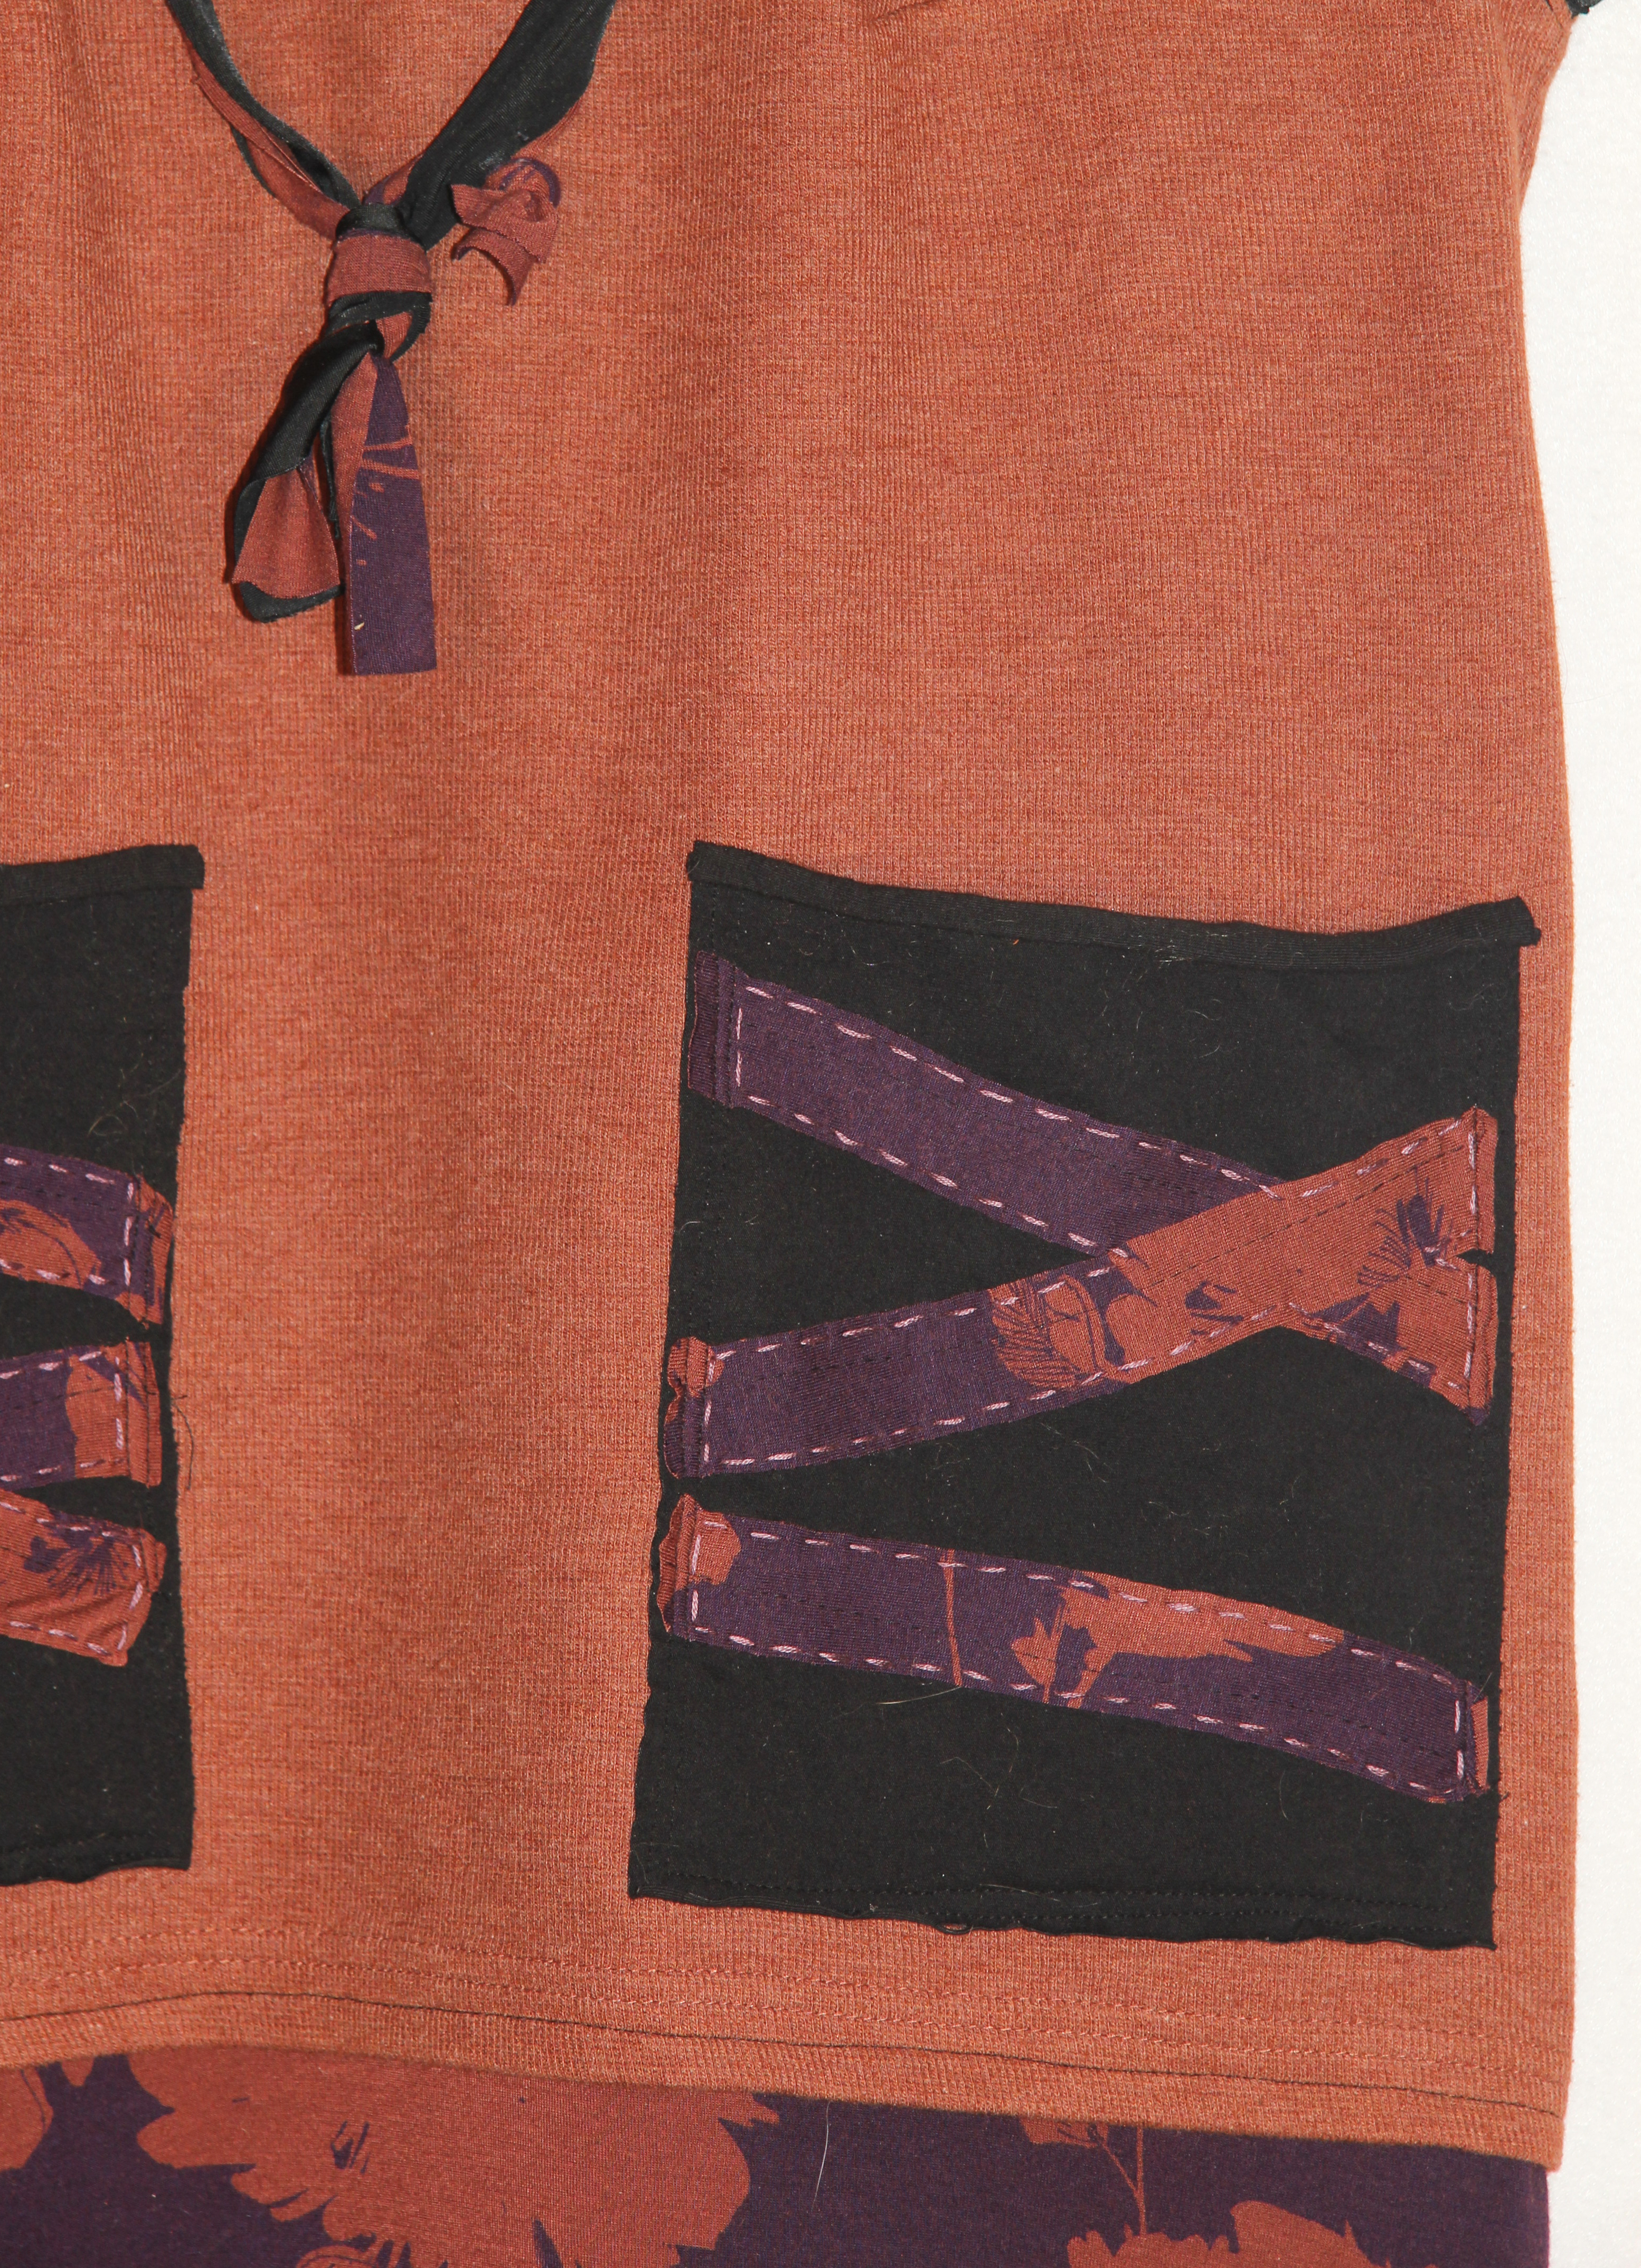
The pocket is exactly from the pattern, and there are no alterations except in the lapel. One pattern option is a wavy edge fold-over lapel exposing the lining. When finished, my stripe produced an optical illusion and the wavy edge just looked crooked rather than wavy. I had trimmed, clipped and pressed, and eventually decided for more wave. The shoulders were now finished so I couldn’t easily go back in to sew stronger curves at the seam. I was almost out of the linen (a bias strip would have worked well), and no other fabric looked good. Ashland-Vest-DetailPlan B, I made several matching strips from the leftover linen (there are seams to make it long enough). Then I serged a rolled hem on each side and slightly gathered the strips.  I placed the desired curves on the lapel and stitched it down to the edge. Great…a tailored vest with a ruffled edge. Didn’t work for me. I then just stitched down the loose edge so there is more structure. I like it, and in fact now think the bit of pucker adds a strong edge to the lapel.Ashland-Vest

Seriously? Another Black Vest

Black-Denim-Vest

I know I just posted a black vest refashion. While it came out well, it isn’t an everyday throw-on piece. This vest started out with an embroidered stretch denim fabric that should, in theory, work for everyday. Of course my copper silk scraps looked so good I had to make the cool button band detail. In addition the only lining fabric in my stash that looked perfect is a        dupioni silk. I did wash the silk first so I can still throw this vest in the washer.Black-Denim-Vest_2

I used Butterick pattern 5468 with the buttons being the only alteration. I think I will make this again. It could have been a size smaller and I would like a slightly softer fabric next time, for example wool would be nice. It’s a versatile pattern that has a sophisticated silhouette.Black-Denim-Vest_1

Believe it or not I have another vest soon to show in the near future. This is the year of the vest for me!

Vest Refashion and my BSF

Ever buy something that doesn’t fit, but you keep it anyway? Well that is this vest. I like that it was long, but it’s too long. I love the belted waist, but it unfortunately doesn’t fit my waist! The neck is so small that it doesn’t comfortably fit anyone. At least I liked the fabric and the pockets. So there it hung, alone in my closet, waiting for some 6 foot tall, thin woman with an impossibly skinny neck.Black-Vest-Before

This is what I did:

First I cut off about 10” of length. Then I ripped out the side seams and finished them leaving an open seam under the arm. Shaping the neck into a V solved the neck fitting problem. Then I took the extra hem fabric and made a side panel to highlight the waistband that buckles in the front. At that point it looked pretty good, but I decided that the completely open side made it difficult to find something to wear underneath. My BSF Debra agreed with me.Black-Vest-refashion_3

Time to go shopping in my stash store! Debra and I found this cool laser cut neoprene fabric and that solved the side panel issue and provided a nice contemporary lace edge for the neck. It’s so nice to have a second sewing friend to bounce ideas around. Thanks Debra.

Black-Vest-refashion_1

Black-Vest-refashion_4

Speaking of my BSF, here she is finally appearing on my blog! Debra is modeling her fabulous hand painted shirt. It’s the Lynn Mizono Vogue pattern 1274 that we started together on one of our sewing days. Don’t you love the hand painted black trim? Snap tape hidden under the decorated edge secures the top. Those shoes, copper bracelet and cool glasses…you got it going on girl!Debra-Lynn-Mizono-shirt-web

Ripper!

I finished my vest that I have been knitting while watching the show Ripper Street. The East End of New York was pretty gruesome during the 1890’s so this project went pretty fast despite the copious amounts of straight knitting.
Shibui-28-Vest-3FM Shibui Mix No 28. Is a fairly easy pattern as long as you pay attention. I didn’t at one point and had to rip out a number of rows, but that’s just a part of knitting while watching television. I used the recommended Shibui Pebble and Linen held together and the fabric is light enough for a summer vest. I love the collar and dart details! Shibui-28-Vest-DFWhen it came time to sew on the buttons, I just decided to use what I had on hand. There is something so enjoyable about digging around in a jar of buttons that only a fiber person understands.

Texas Road Trip Vest

Most of my knitting is during movies, but once in a while we take a road trip. My husband and I listen to an audio book, he drives and I just knit away. For shorter trips we find this much more enjoyable than fighting our way through the airport. This time we drove to Texas to visit family. 2 days of driving each way is a lot of knitting! Makalio-Vest-FMweb

The Makalio Vest (Ravelry.com) just caught my eye as a fun layer for summer. I couldn’t resist the oddness of this loopy vest.Makalio-Vest-OMweb It’s a fun extra layer instead of a scarf when an outfit needs a little something extra. The designer of this pattern shows how to wear it in other ways, so some experimenting will be in order. Here is a view of the back with the optional tie. She also shows it with a belt around the back with the loops free-flowing on the front. All in all…kinda cool!Makalio-Vest-BMweb

Valentine’s Vest and Tunic Top

Vest-and-Tunic-FMwebI bought this cool fabric from The RainShed back in September when I returned from my Diane Ericson retreat in Taos. A fellow sewer, Gwen was making a cool vest out of the fabric, which is grey wool laminated to a black knit. Both sides are attractive and the fabric does not ravel so Gwen was cutting holes out to add interest to her project. I had to try some of this fabric!

Finding the right pattern for me took a while, but I finally settled on Vogue 8932, since it has so many panels to show off both sides of the textile. I like to wear layers so a vest is perfect. I added 2” to the length of the pattern and eliminated any facings. Frankly, I think the final vest looks more like the photos on the pattern cover and it would have felt too short if I had not added the length. Instead of facings a knit stripe finishes off all of the edges.Vest-and-Tunic-BMweb

I added the cut outs to emphasize the lines of the front,Vest-Cut-Detail-DSweb and placed a few appliqué pieces to carry an asymmetrical line on my left.Vest-Detail-FS-copy The piece needed a little sparkle so I added a small triangle of metallic paint to each of these larger triangles. Just one triangle brought the design to the backside.Vest-Detail-BSweb

 Finishing the vest left me with the question of what to wear underneath. I had pulled out a number of coordinating knits when deciding on the edge treatment. Since several of them went well with the grey/black fabric, I decided to whip up a knit top to wear under the vest. Vogue 8952 is so easy and only took about 2-3 hours to cut out and put together.Tunic-Top-FMweb

I can’t wait to wear this on Valentine’s Day! Hmm…red pants might be a fun look.

2T Vest #1

I had to name this vest #1 since I love it so much I have already made a second one. I’ll photograph that one and put it on a later post. The idea started with a vest on Diane Ericson’s blog.  My BSF (Best Sewing Friend) Debra and I started with a trip to Goodwill. Goodwill HaulWe met there and spent a half hour picking out men’s and women’s knit tops that color coordinated. Her stash was black, grey and blue. Size doesn’t matter, in fact the larger the top the more fabric you get. I spent about $24 and will be able to make at least 3 tops from this pile.

The next day we met and started to chop and sew. This vest is made from the two tops from the lower right. 2T Vest #1We tried them on before sewing any side seams and made adjustments like darts if needed. The whole idea for this garment is to wear it over a turtleneck, so the fit is easy. The original collar is from the man’s shirt so you get a zippered neck without any effort! The black pockets and back detail consist of some black knit from my stash embellished with scraps from the women’s shirt. A little hand stitching and a sewn on “necklace” finished it off. Women’s clothes so rarely have usable pockets making this an awesome practical top for everyday wear.2T Vest #1 Details2T Vest Back Neck