With few exceptions, I only knit on a car trip or while watching television at night in our “movie theatre.” The room is very dark so I wear a little red LED neck lamp that doesn’t disturb my husband. Television is not a great love of mine, but he can watch movies for hours, especially if there are explosions and car chases. Jim is in charge of the remote control and I just attend showings to spend time with him. Once in a while he puts on a chick flick just to keep me coming back! I manage to knit 4-5 nights a week with about 3-4 hours of knitting each night. It doesn’t sound like that much, but it’s amazing how much I get done. If someone asks me how long a scarf took I’m likely to reply, ”about 5 movies.”
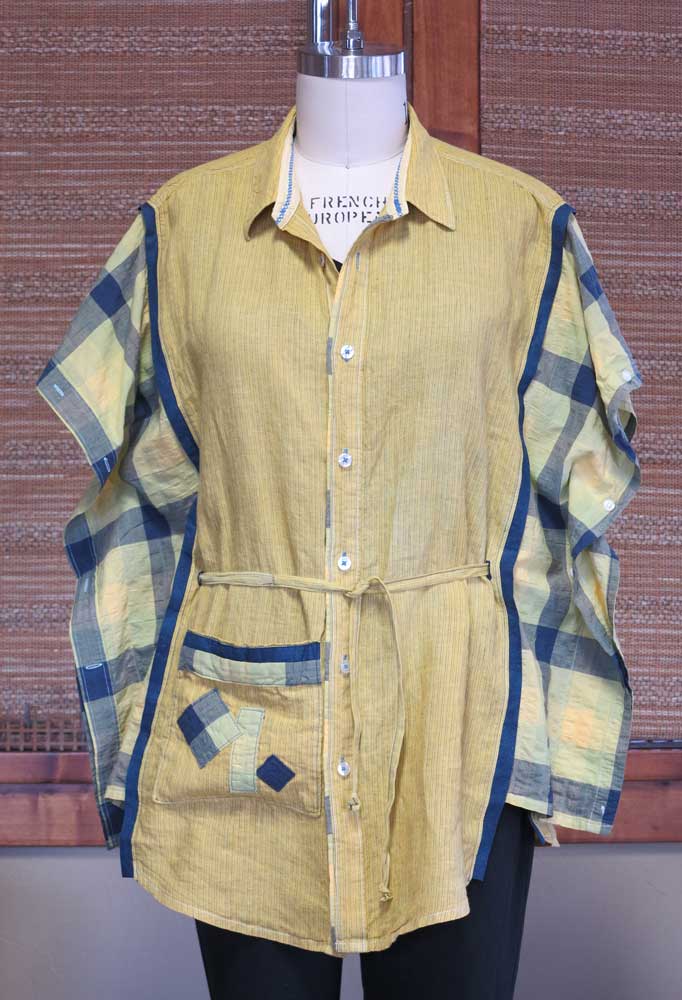
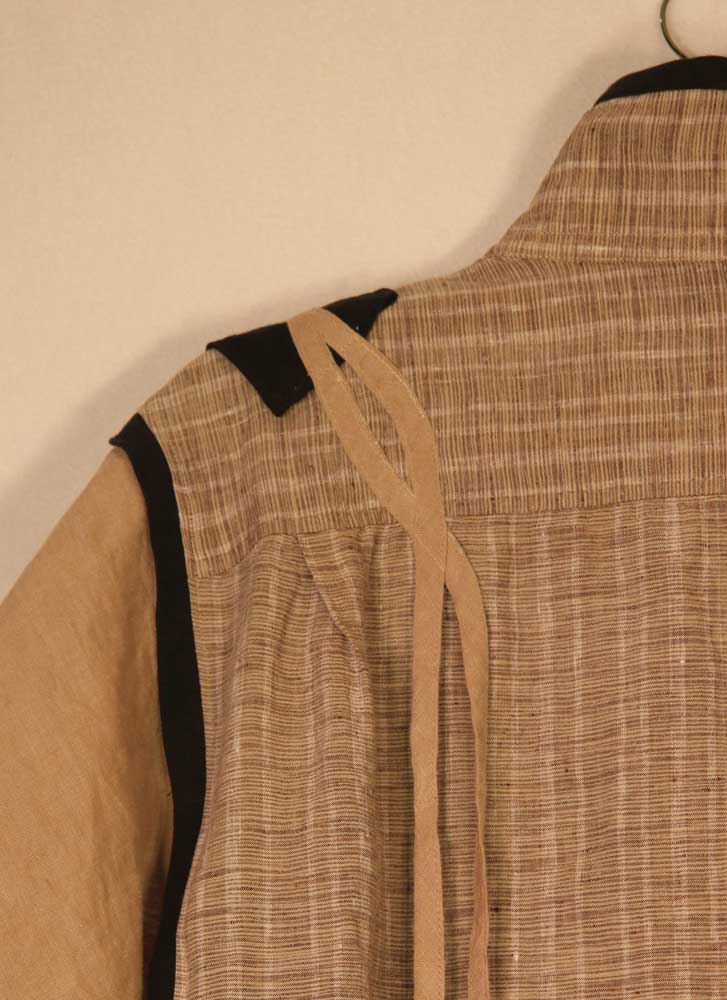
During December we drove to Texas twice to visit Jim’s family so I finished several projects. The first was a vest from Shibui Knits called Shift. I used two of their yarns, an alpaca and a linen, held together and it made a wonderful texture. Knitting is 10-year-old hobby of mine and the early pieces were not that wearable, but this piece is a winner!  The front panels are blocked to the same length, but the piece knitted sideways has a natural stretch making the panel longer forming an asymmetrical silhouette.
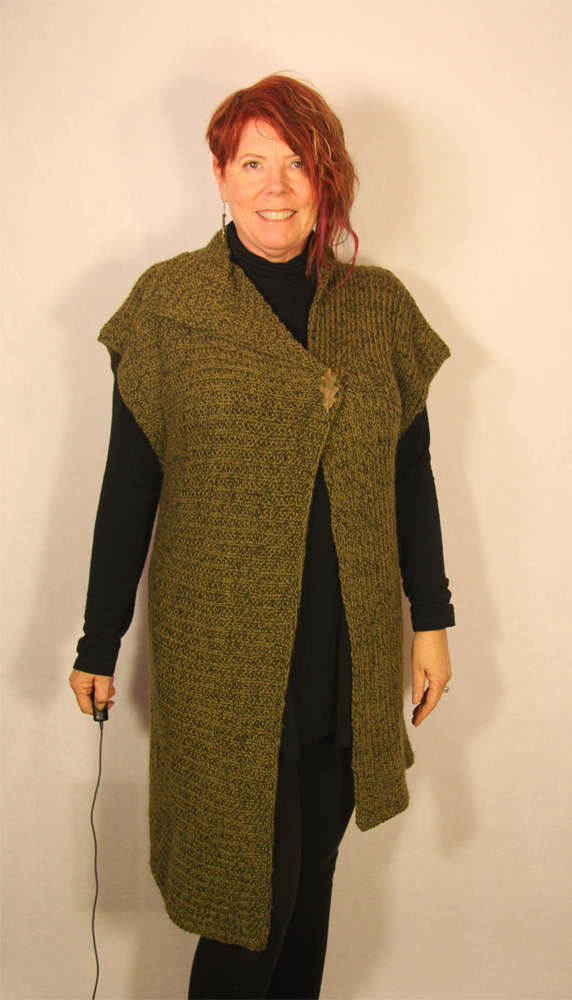
The second project is smaller, but may have taken longer. Three colors of Madelinetosh Merino Light are knitted in stripes for the Derecho Shawl.
 I crocheted the top edge and left the bottom without the suggested border.

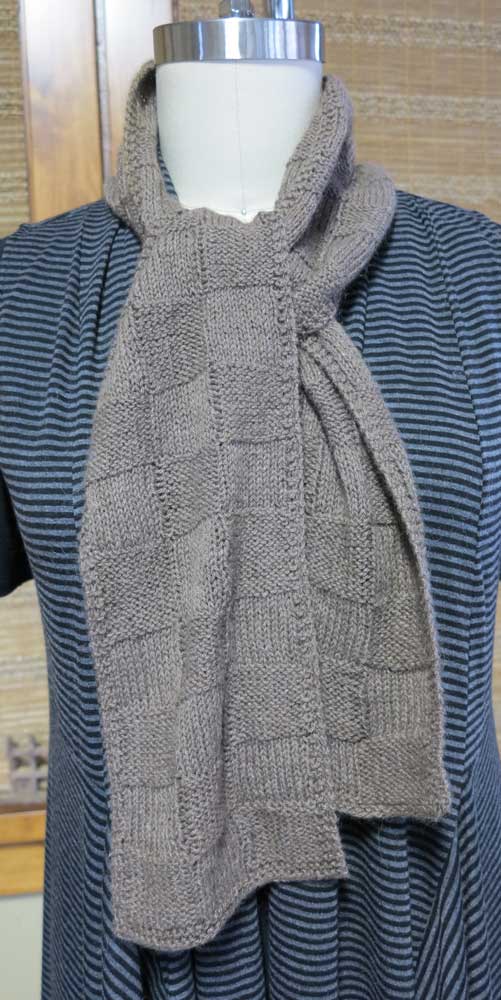
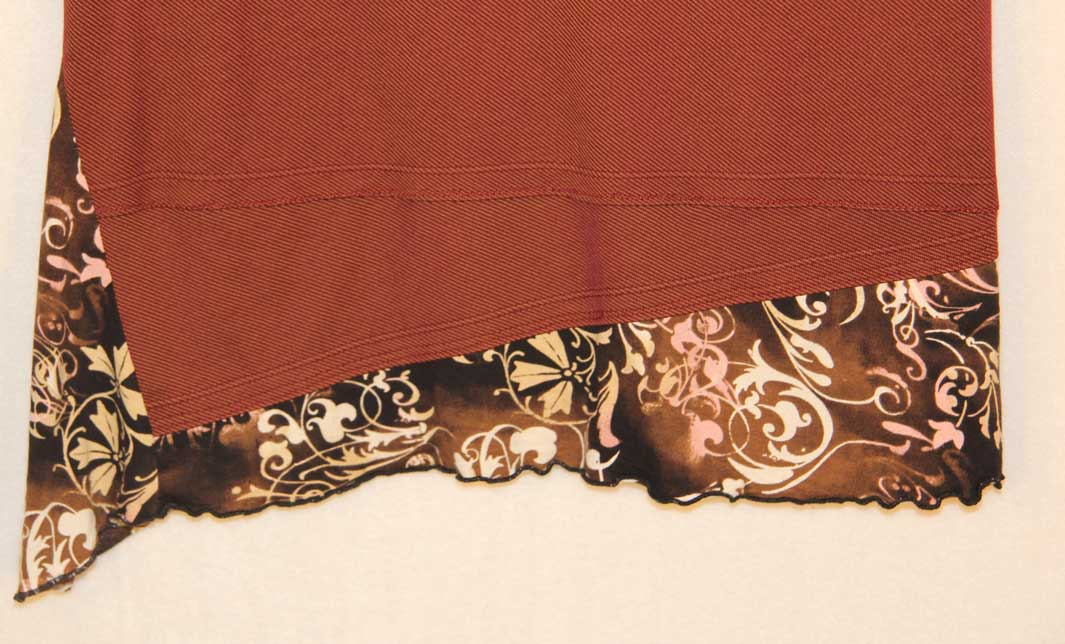
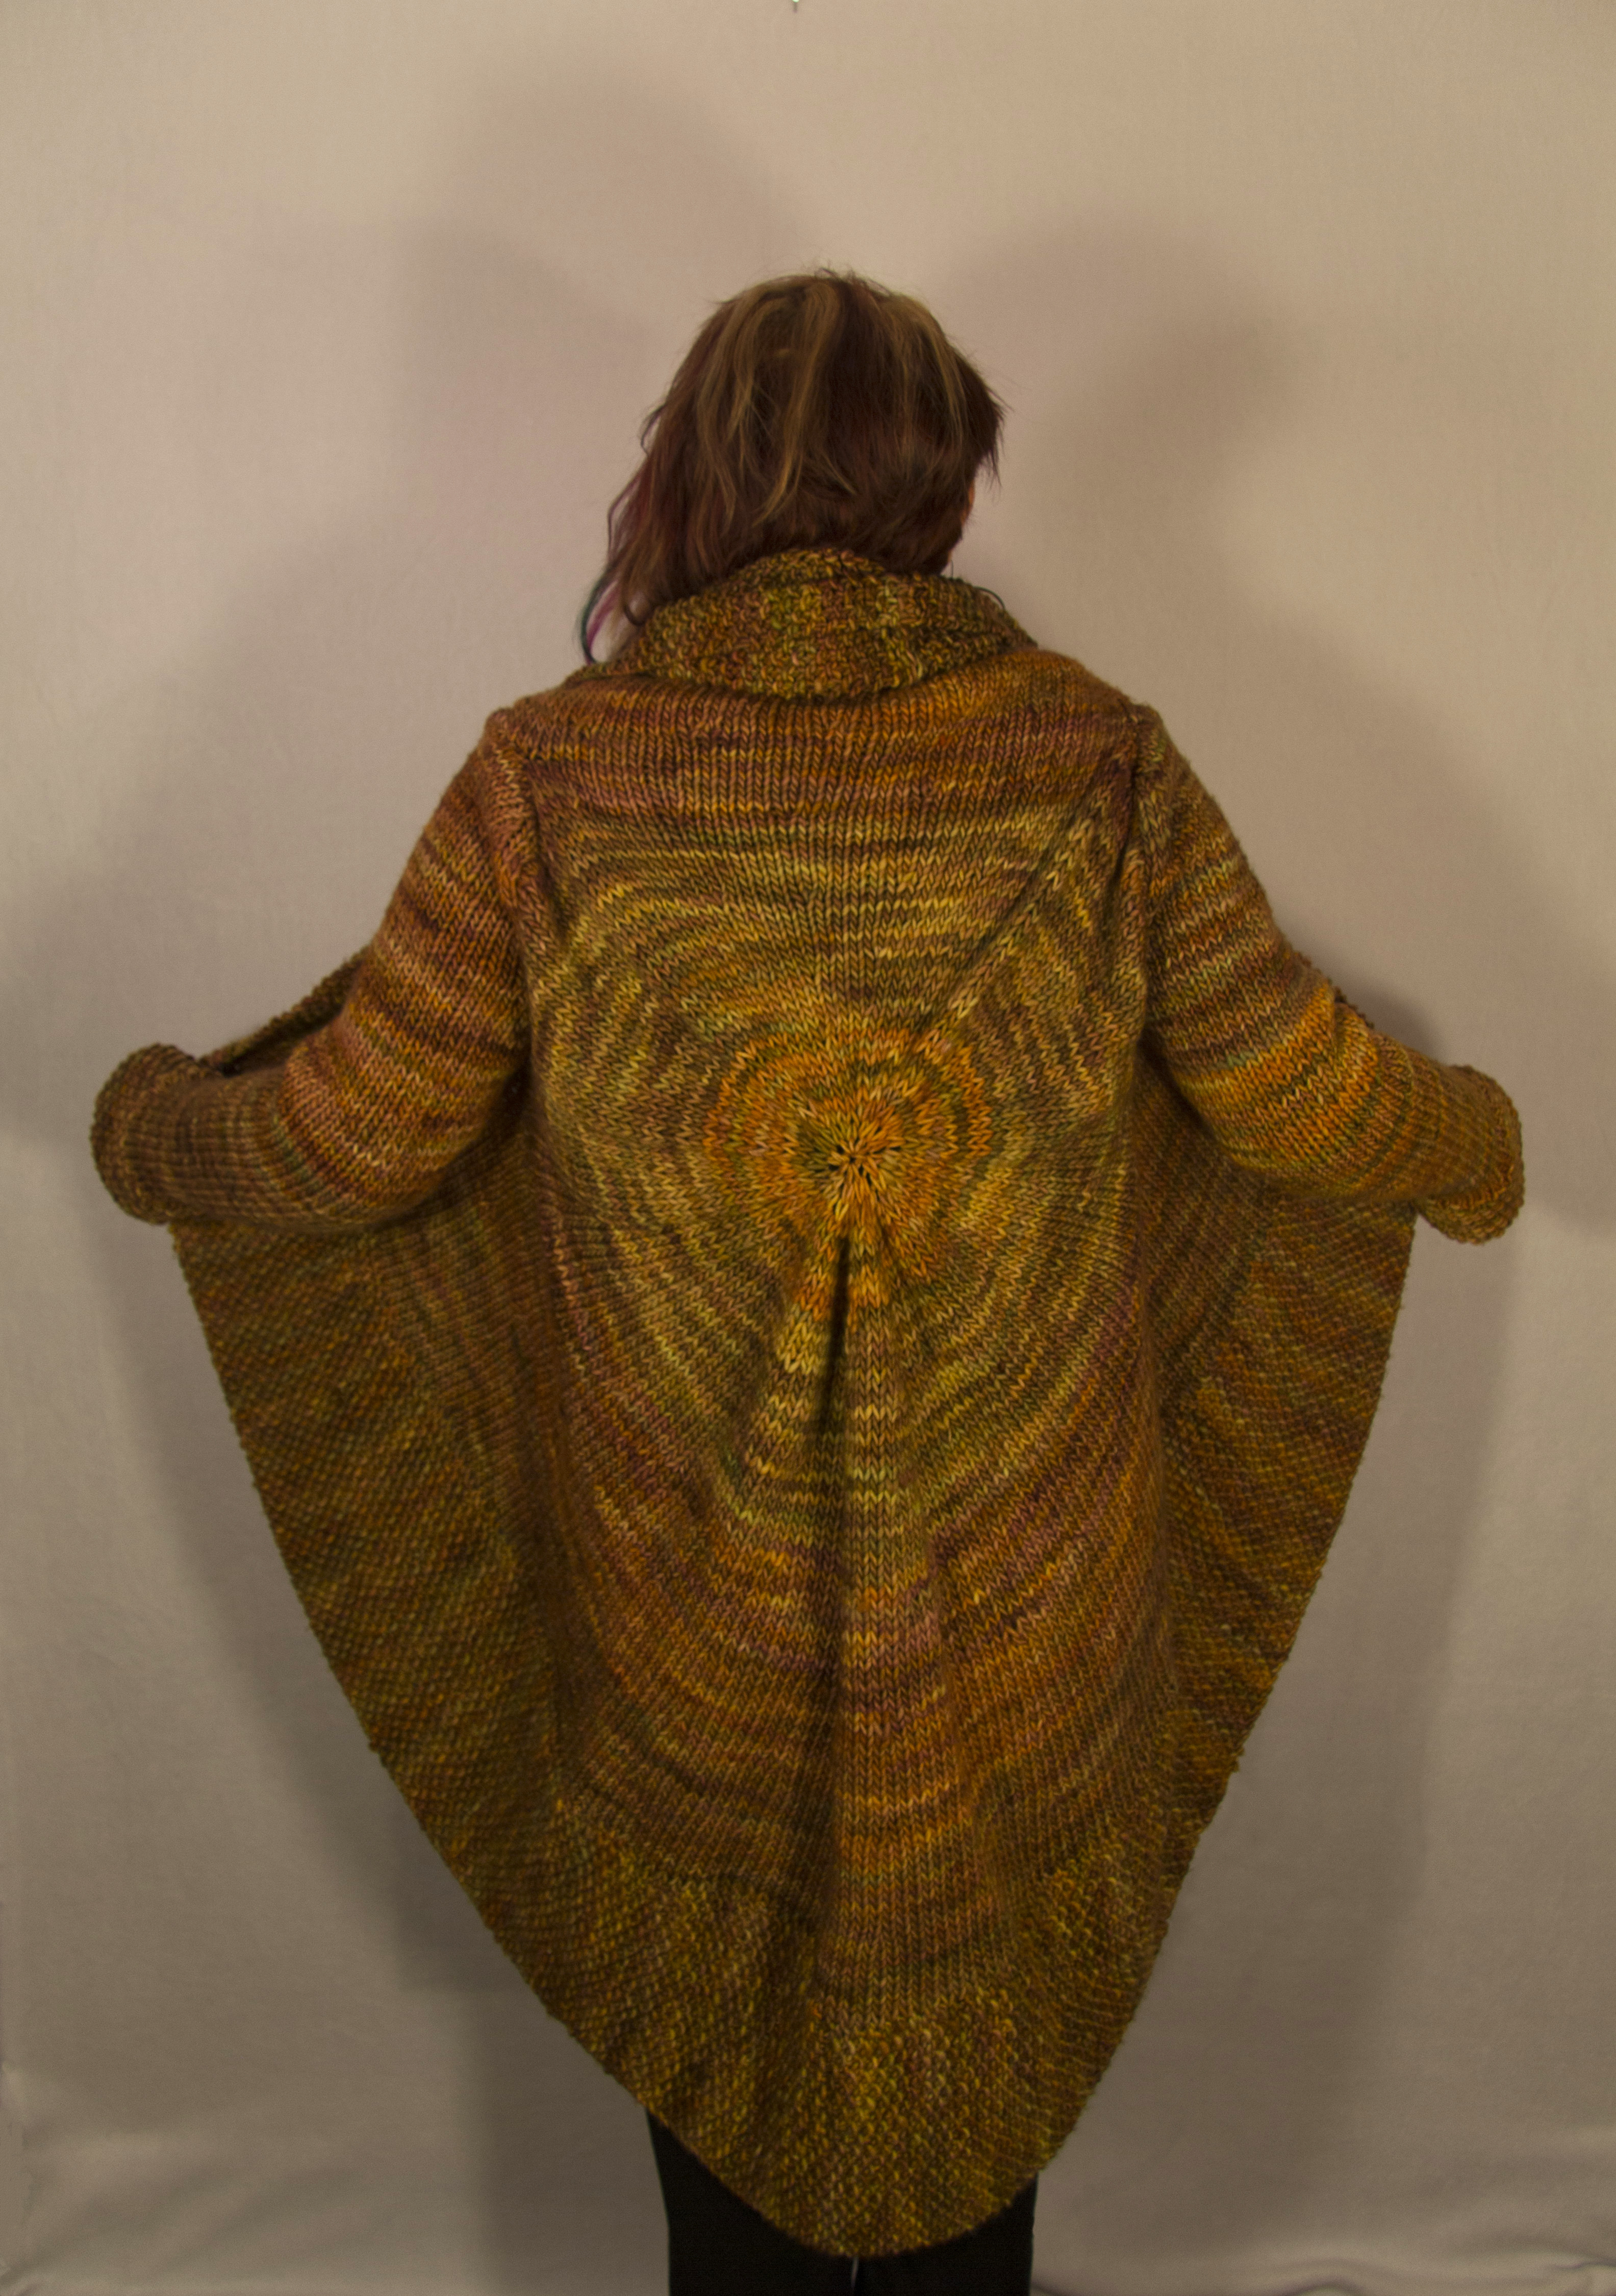
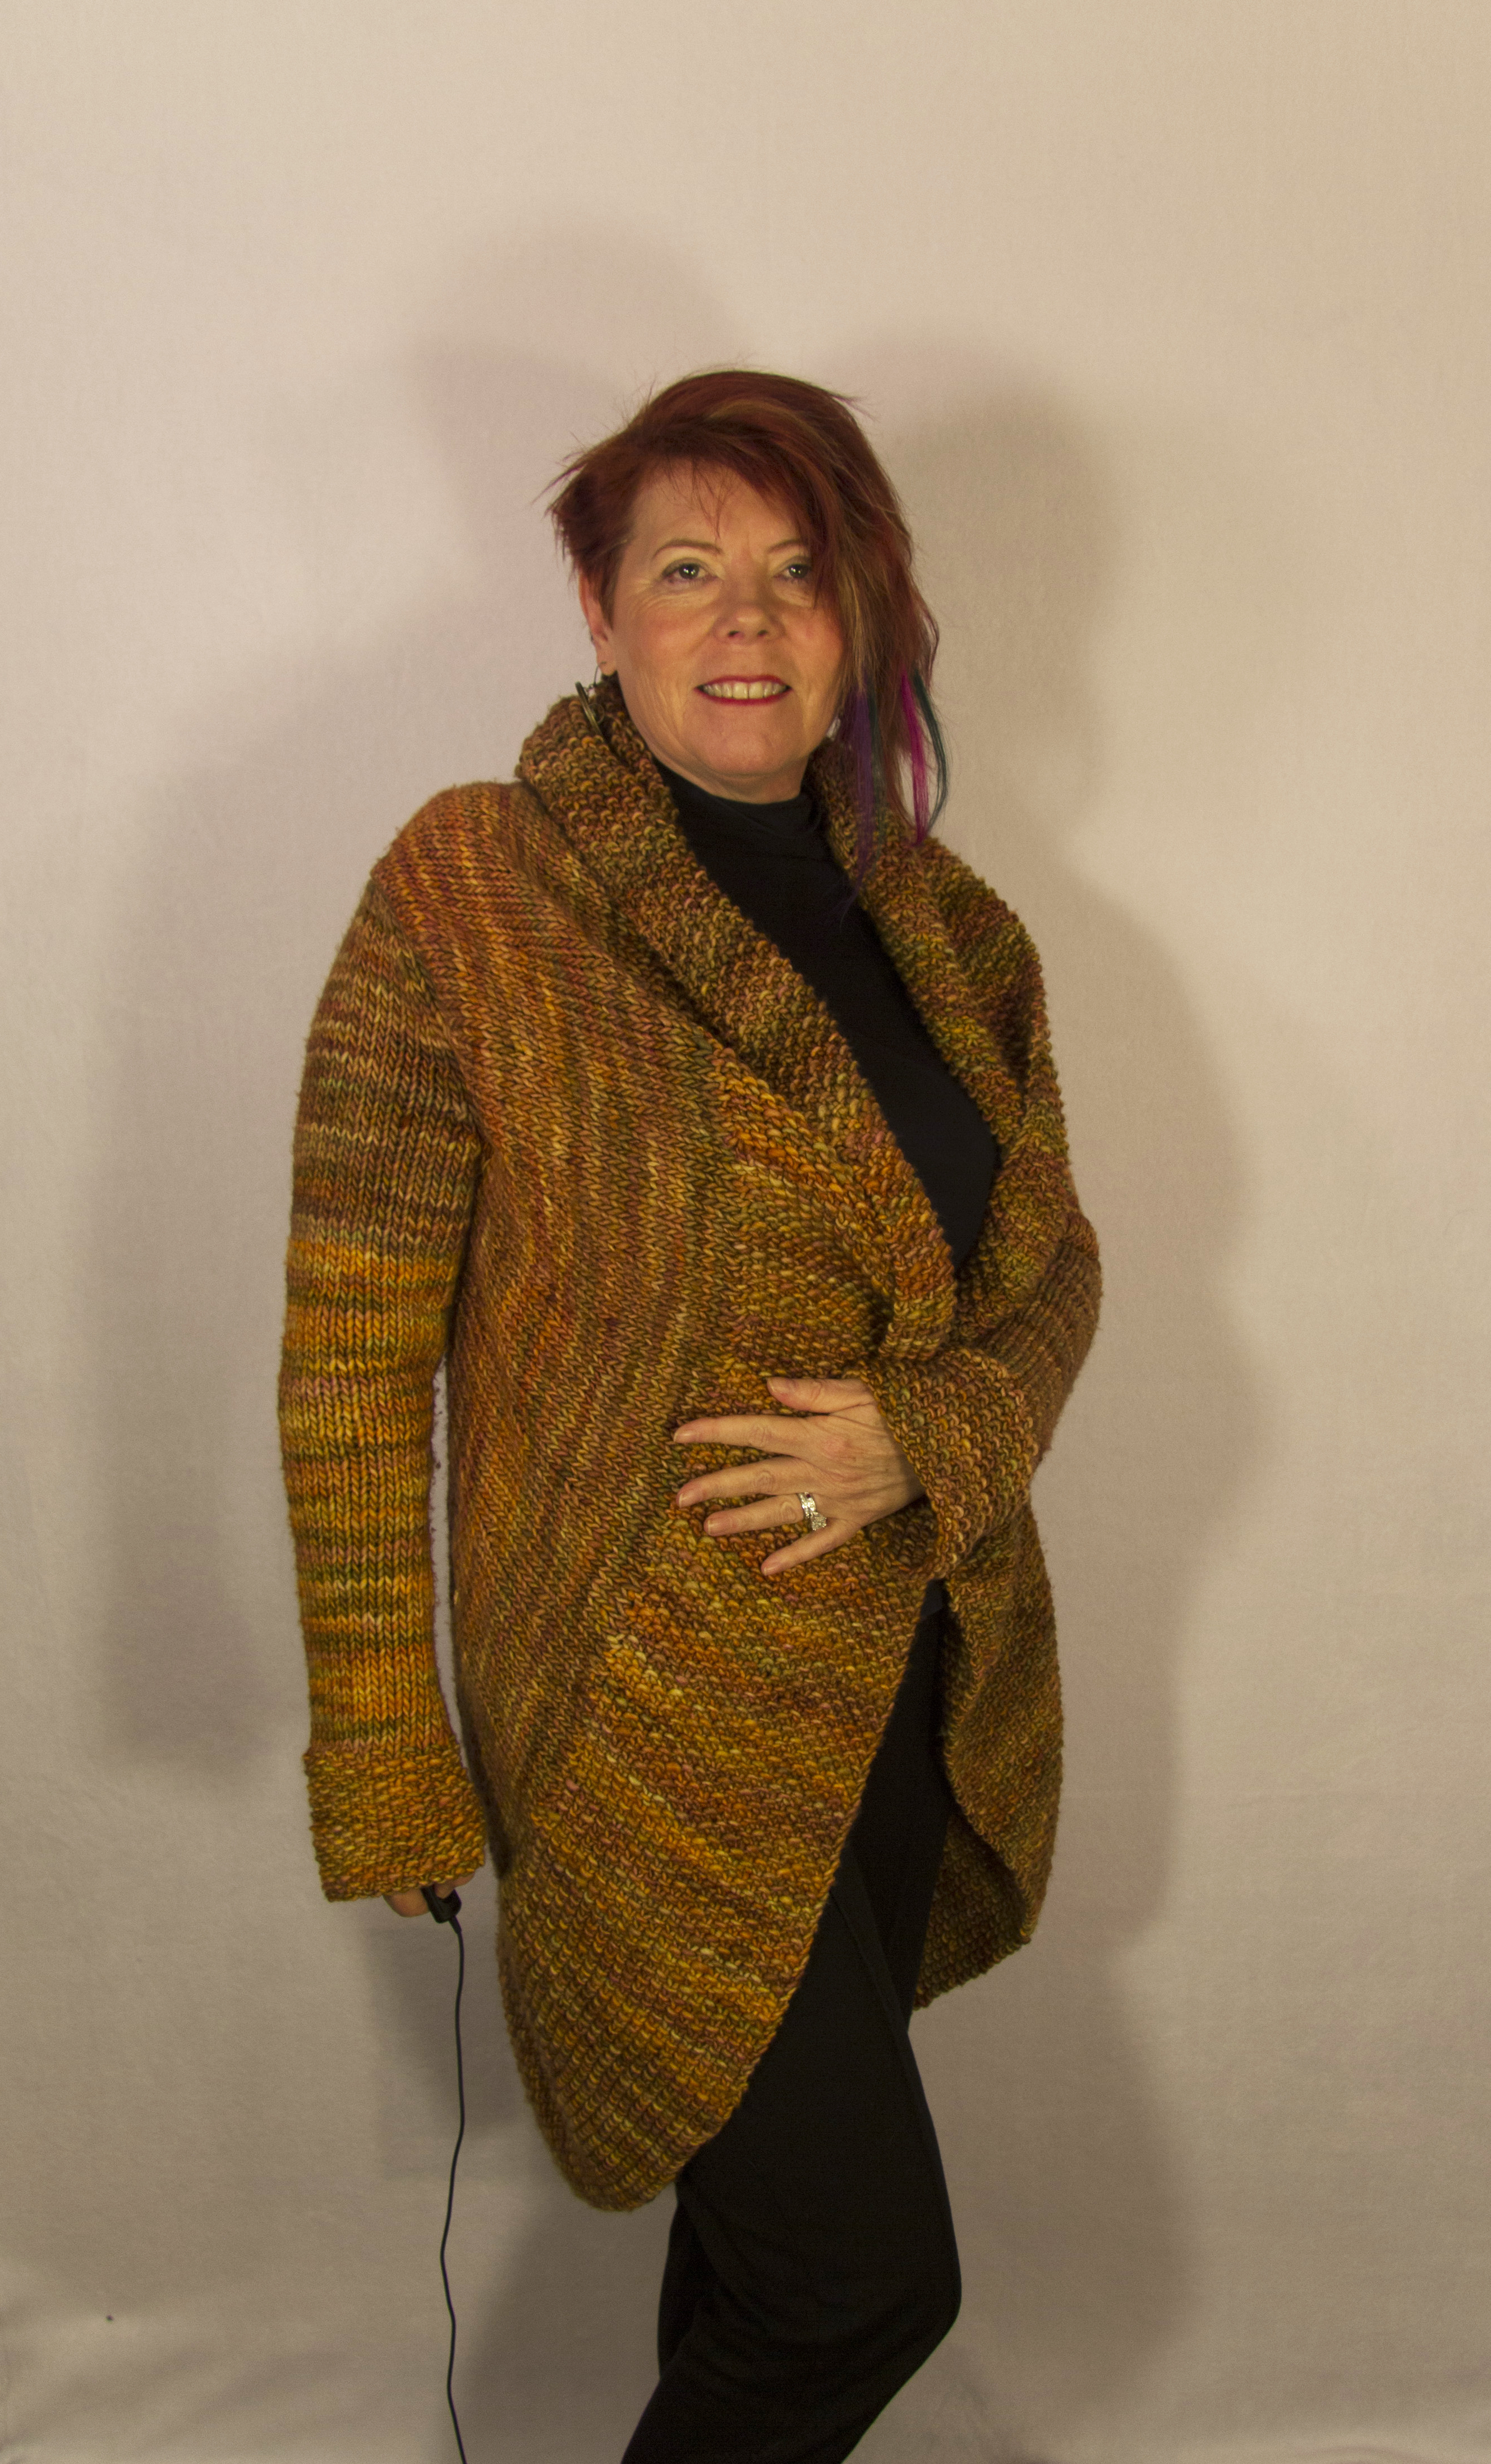
The third project was finished before December, but I wanted to insert a photo since it is my favorite knitted wearable.  I didn’t use a pattern, but I’m sure there is a similar one out there at Ravelry.com. A simple rectangle, folded in half, I wear around the house all the time. I did add a garter stitch edge to keep the stockinette from curling, but I suspect the curl would have looked fine.
Happy Knitting!
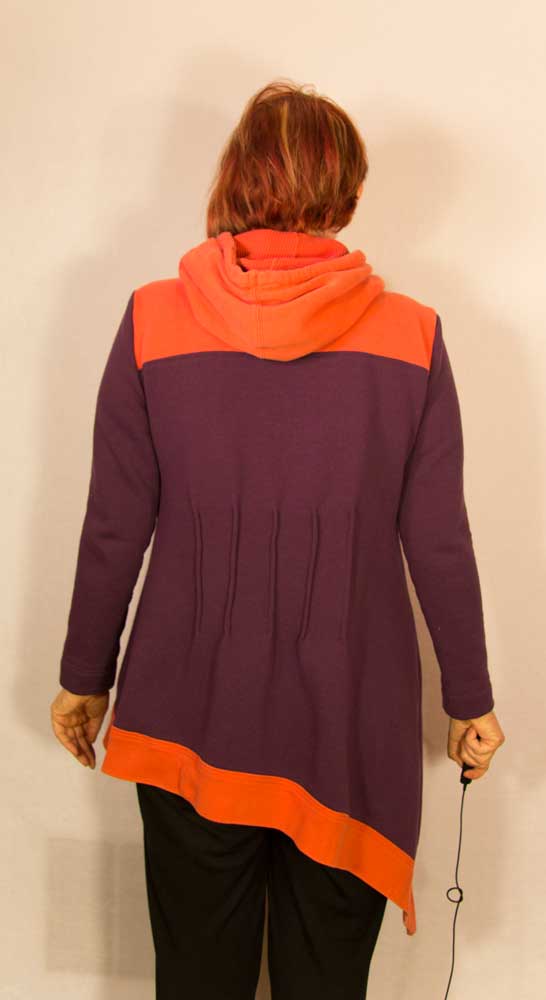
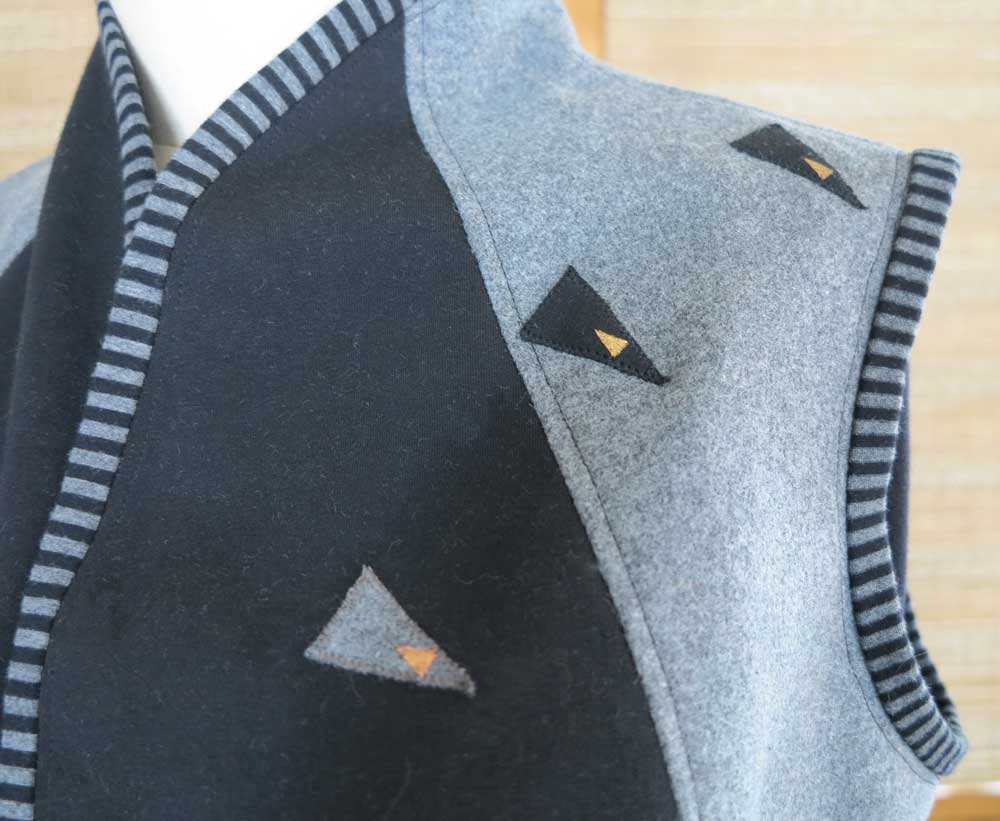
 I wear my first sweatshirt refashion so much I decided to tackle another. I started with a very small Ralph Lauren sweatshirt with an awesome military collar. I took the back off again and added it to the front. This time there wasn’t enough fabric in the original sweatshirt to allow for princess seams, but I cut the sweatshirt in a triangle with the smallest part aligning with the collar shape. I think it still has a slimming line on top.
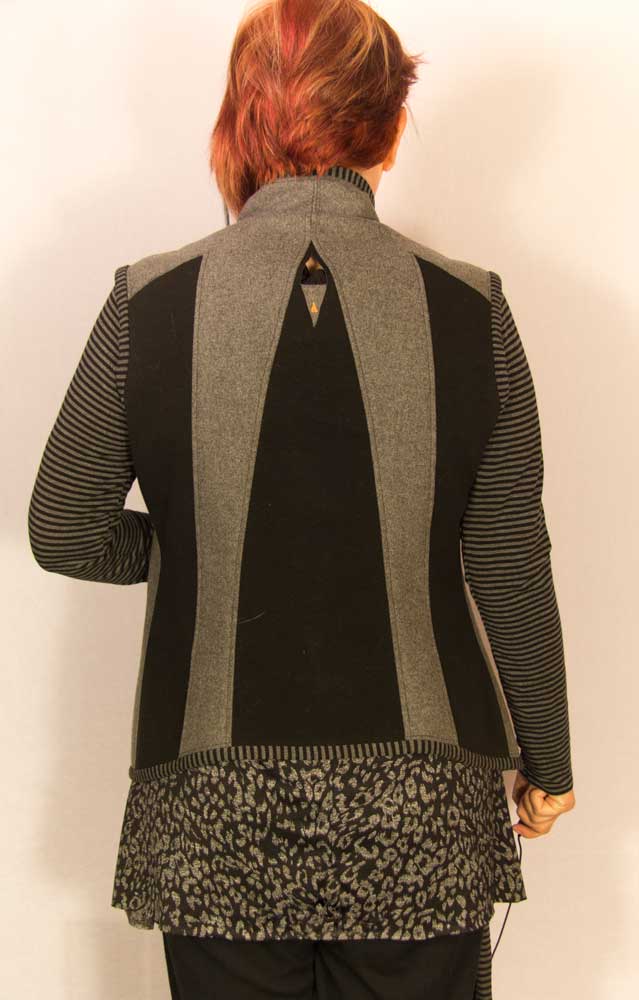
 When I tried it on it was still too small on top. Aha, a GDO! (good design opportunity). I took the fabric from the sleeves and added a triangular gusset under the arms. I like the detail it adds to the garment.
 A triangle in the back finishes the line and concept. Overall this tunic is slimmer than the last one and I may even like it better!