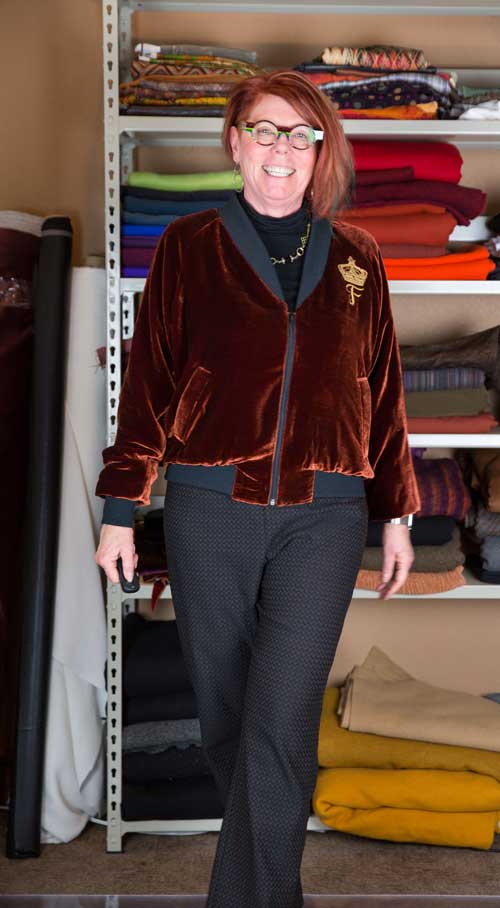
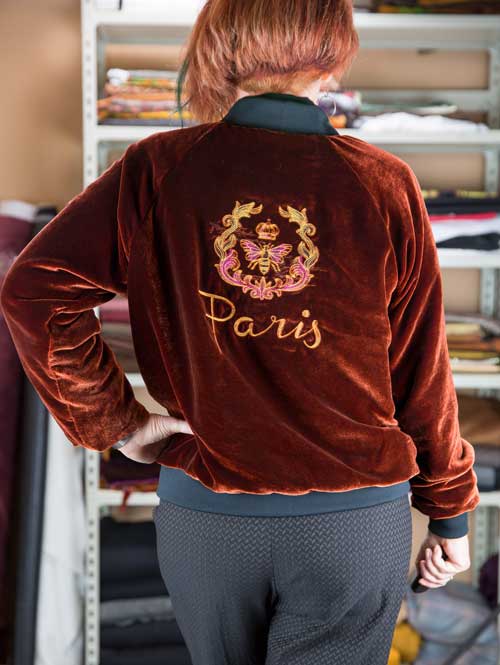
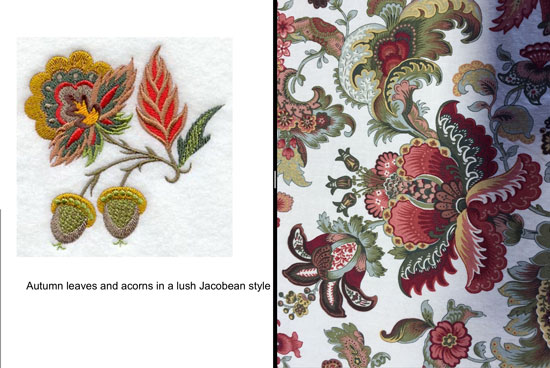
First of all, let me thank all of you for the kind words about my dad. The sewing community is so thoughtful and encouraging, and you all cheered me up more than you imagine.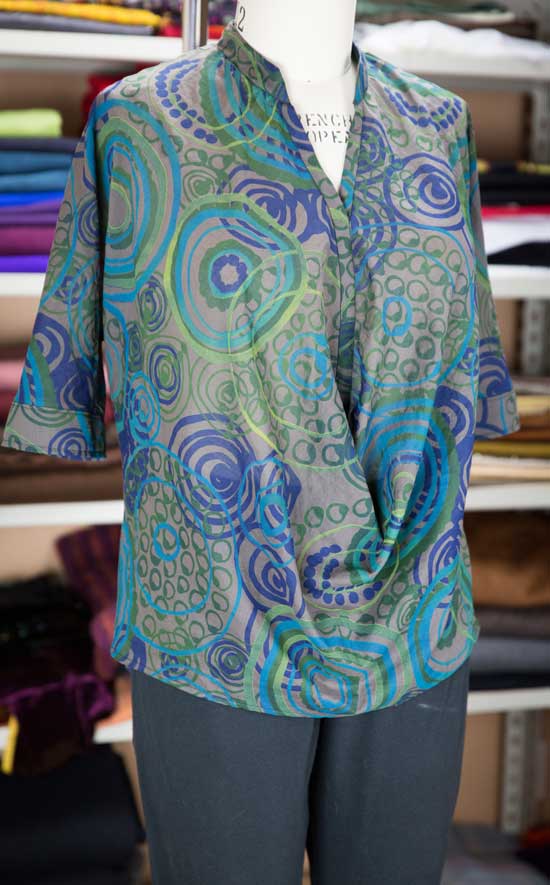 I’m back to sewing and blogging! Summer always poses wardrobe difficulties since fall is my favorite season in both colors and weight of fabrics. I’m determined to have a summer wardrobe one of these years, but while I started planning summer sewing in February, life got in the way. I have a spring coat that I’m still working on, but it’s a long slow project that I’m savoring so it’ll get done sometime soon. Hint: machine embroidery is involved.
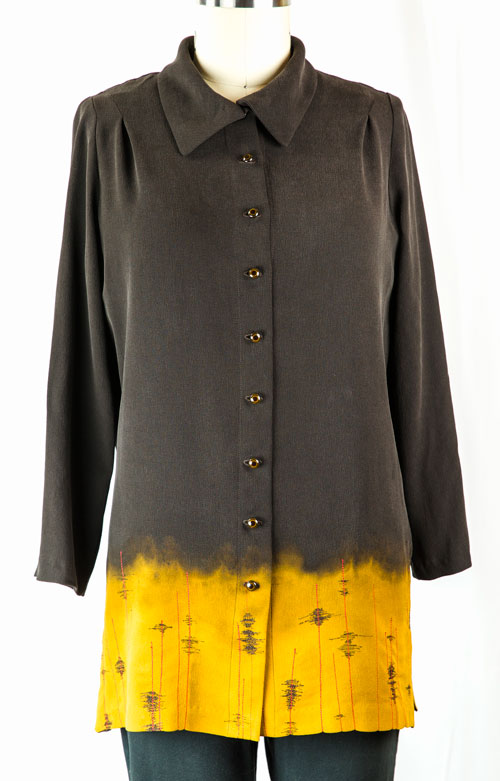
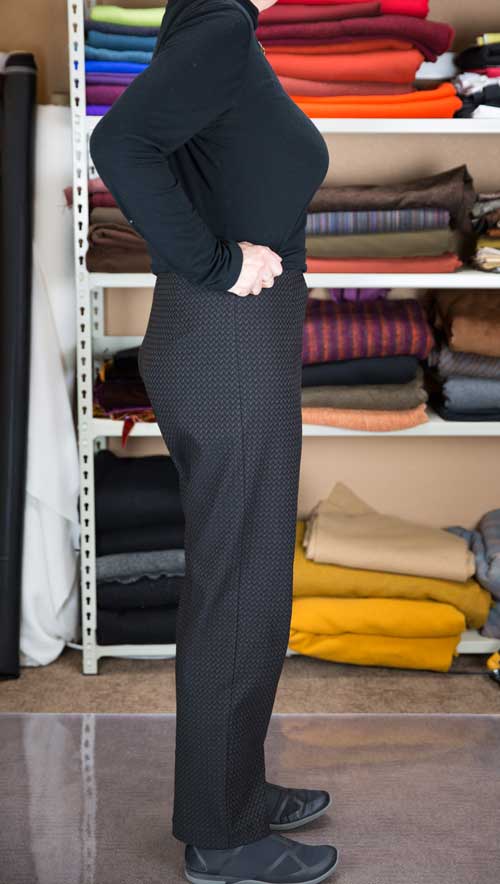
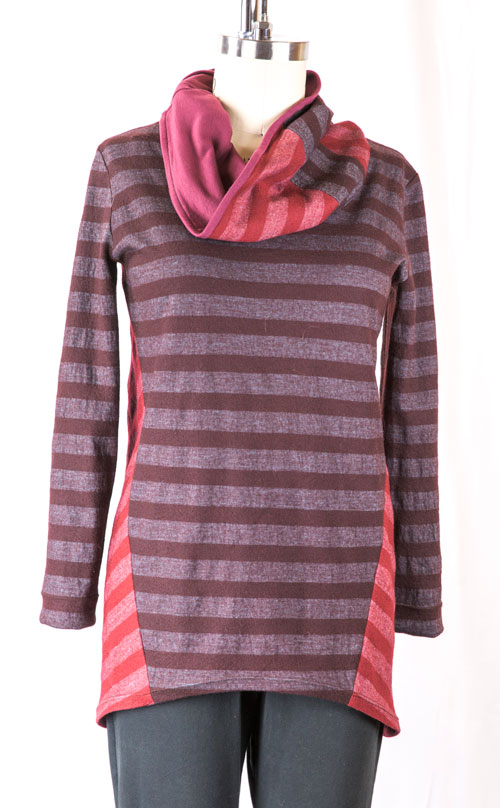
In the meantime I made this self-drafted (from RTW) pattern that has promise for the second iteration. Not that this is a wadder, but the cotton lawn I used doesn’t have the right weight or drape. The shirt needs something like a rayon that is less airy. In addition I will make the shirt about 2″ longer next time.
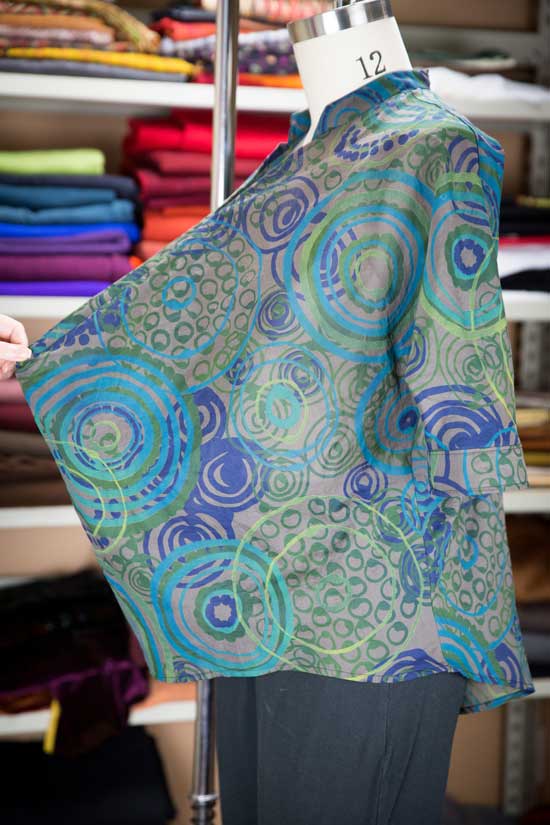 Isn’t this an interesting idea? The front basically ends up on the bias at the placket. Drafting this pattern was difficult, since the original shirt kept shifting around. This front idea is what I wanted to capture and beyond that, I made quite a few detail changes from the original.
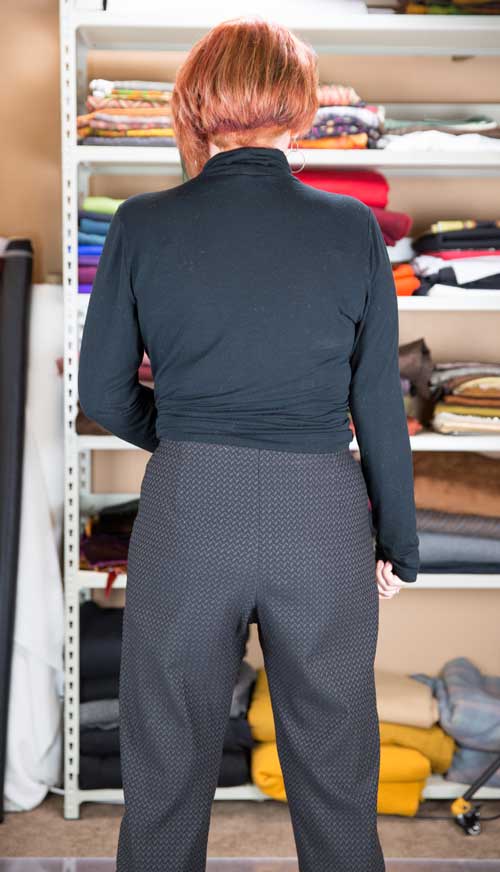
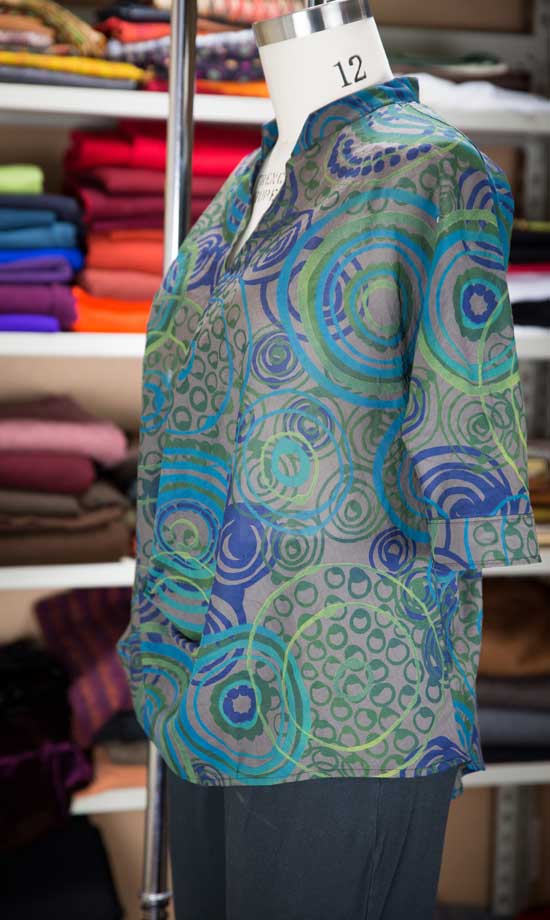 I may add some false buttons on the placket. I usually sew plackets up even on RTW that I’ve purchased. I’m just more comfortable knowing I don’t have to watch out for gaposis at the bust!The back pleat adds to the airiness of this top, which you barely feel while wearing. I find it slightly disconcerting and as I said before a little more weight to the fabric will feel better. I am wearing this “muslin” but I think there is great potential in the future. The body pattern is only two pieces so there is room for fabric play. Hope I have time this summer to make another!
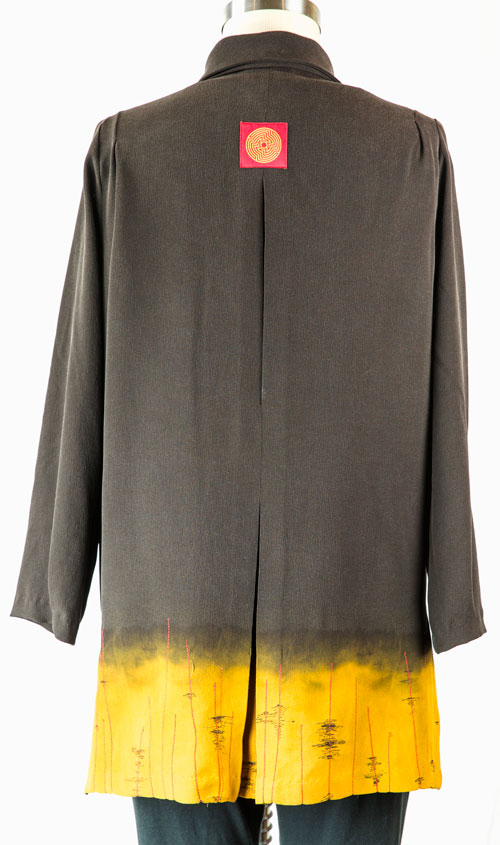
 The back pleat adds to the airiness of this top, which you barely feel while wearing. I find it slightly disconcerting and as I said before a little more weight to the fabric will feel and look better. I’m wearing this “muslin” but there is great potential future iterations. The body pattern is only two pieces so there is room for fabric play. Hope I have time this summer to make another!


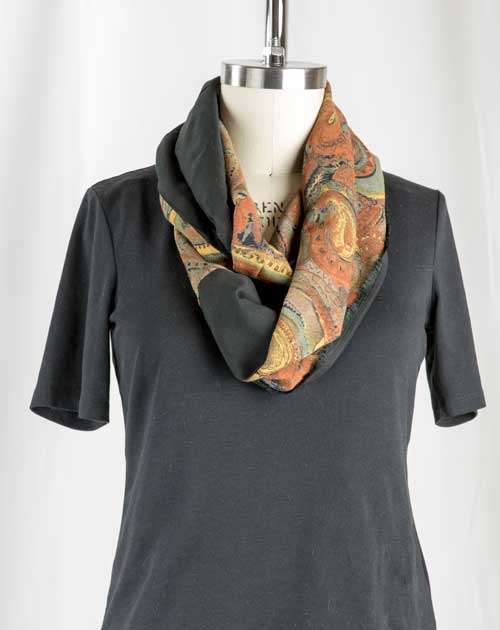
 To add complication, I decided to make a pattern from my favorite shirt shown on the left. There are two of these are in my closet in different colors. I’ve only drafted a pattern a few times, and never with a complex piece of clothing (darts, pleats, placket, pockets). The drafting went well, but the first muslin was too small. I know it looks great on Roxanne, but she is the size I want to be. LOL

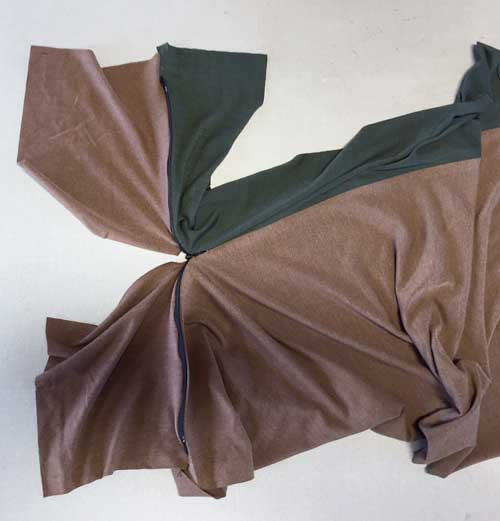
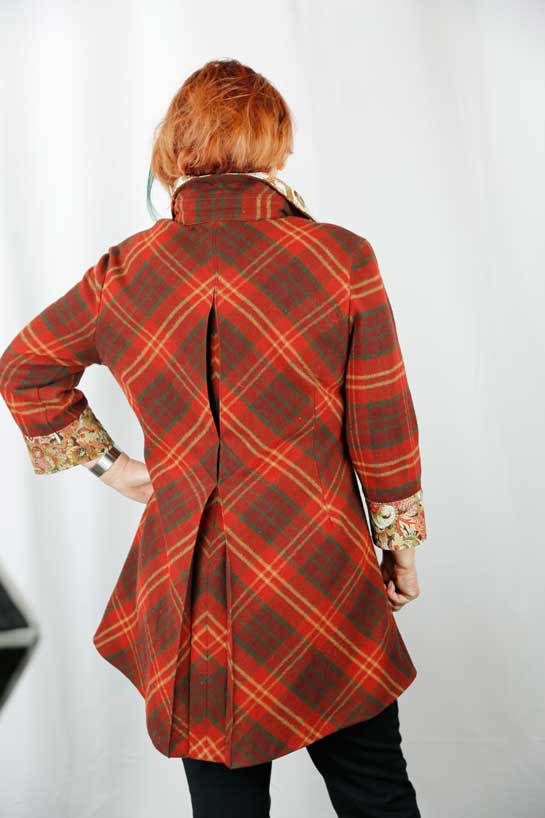
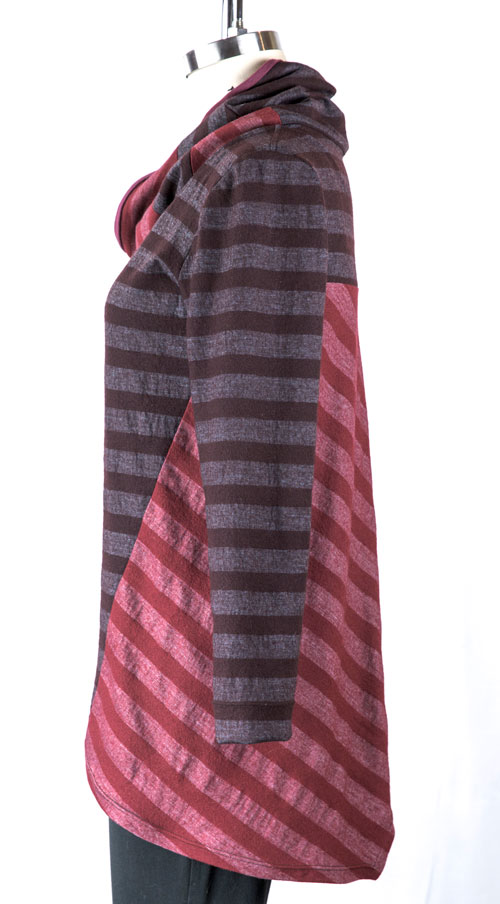
 The final desire was an interesting back pleat, and on the diagonal. The uneven plaid was tough to match in back, but at least I avoided matching the sides.


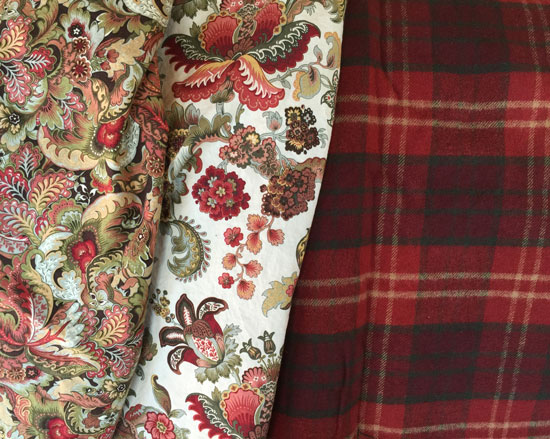
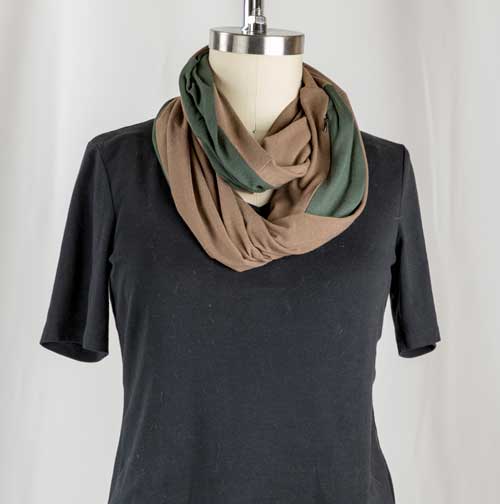
 The grey and black tunic from Soft Surroundings (bottom right) is the closest to the shape I want, but I love the bias pleats of the Alexander McQueen shirt (top right). The shapes of these two shirts aren’t completely compatible since the McQueen shirt would be boxy in shape.


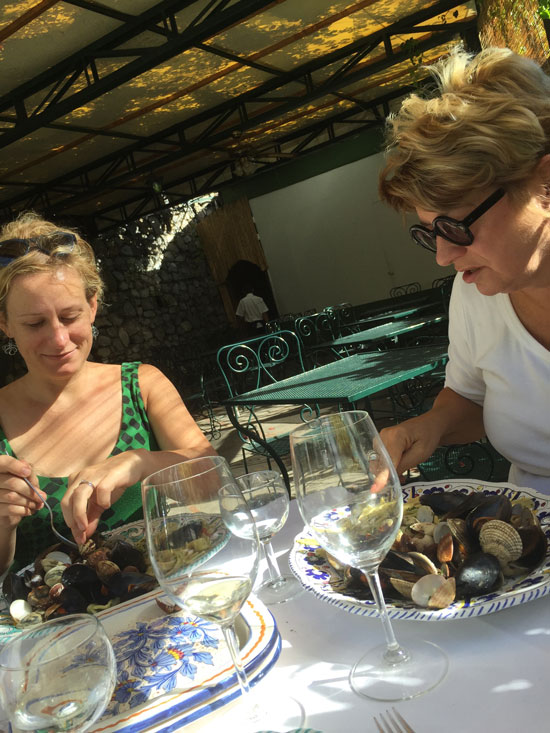 My daughter Anna met us in Positano. She lives in Sicily and is getting married to a lovely Italian man in 2016…lots to talk about! She showed us the ropes of how to order fabulous food in Italy.


 I
I